#Overview
In addition to applying tags in your CRM, a core feature of WP Fusion is the ability to sync data bidirectionally between WordPress user records and CRM contact records.
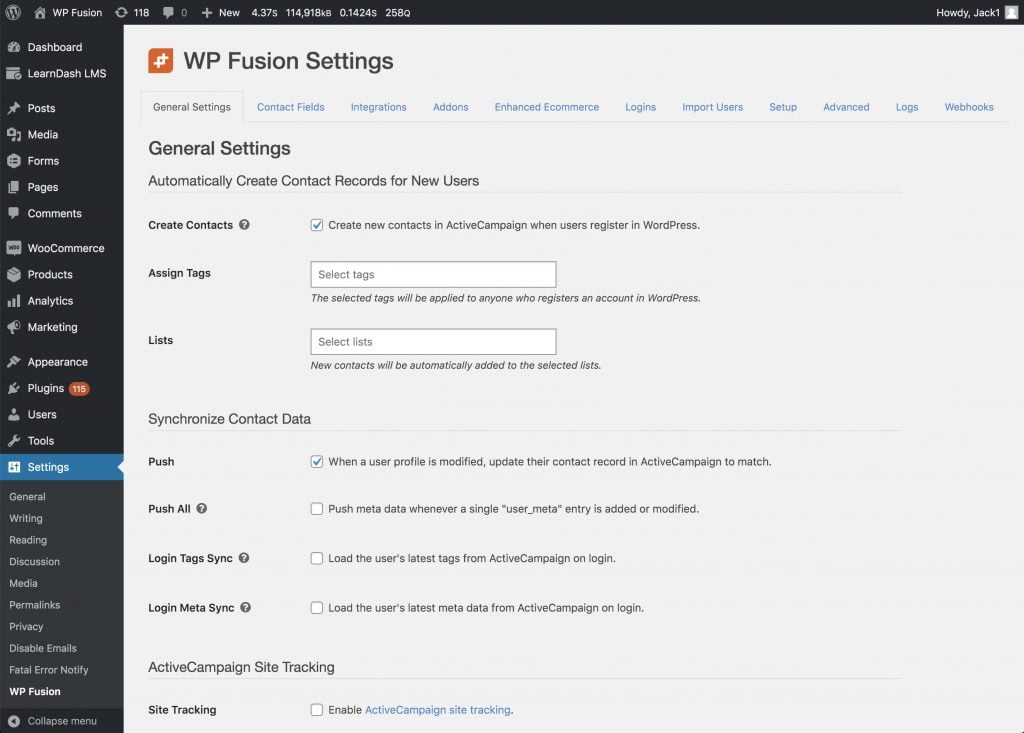
This is managed from the Contact Fields tab in the WP Fusion settings.
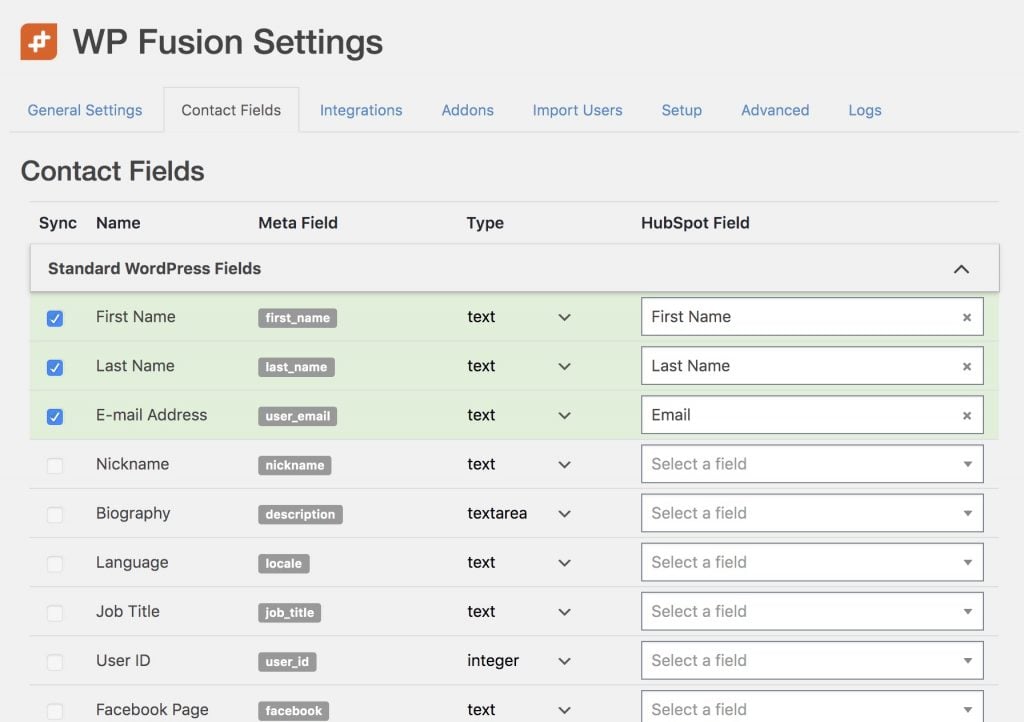
In the left column are all the fields that WP Fusion has detected in WordPress. To help finding fields easier these are grouped into collapsable sections based on the plugin that registered the field.
In the right column are dropdowns where you can select a corresponding custom field in your CRM.
Note: If you』ve just added a new custom field in your CRM, it may not appear in the dropdown of available fields. Begin typing the name of the new field, and if no matches are found, click the 「Resynchronize」 link that appears in the dropdown. The new custom field will be loaded from the CRM and you should see it appear once you re-type the name.
#Which fields are available
The fields that are available for sync depend on the plugins you have installed. Each of WP Fusion』s plugin integrations has the ability to detect the fields for that plugin.
The fields WP Fusion can sync with your CRM relate to a specific user on your site, not a custom post type or other related content.
Generally these would be standard fields (like Billing Address with WooCommerce), as well as custom fields (for example custom fields you』ve added to a registration form using Ultimate Member).
In addition to that, WP Fusion will scan the database (the wp_usermeta table) for your own admin user to try and find any other fields that might not have been detected, or might come from a plugin we don』t officially support. These will be listed at the bottom of the Contact Fields list in the Additional Fields section.
#Pseudo-fields
With some plugins, WP Fusion has been designed to sync some pseudo fields with your CRM. These are fields that don』t exist in any one place in your database, but WP Fusion can calculate them and sync them as part of a specific process, for example a checkout or membership level status change.
Some examples:
WooCommerce order data
LearnDash course progress
MemberPress current membership details
If the data you』re trying to sync with your CRM isn』t related to a specific user, or is coming from a plugin not currently supported by WP Fusion, you can also extend WP Fusion to detect and sync additional fields. For more info on that, see this tutorial.
#Additional Fields
At the bottom of the Contact Fields list is a section called Additional Fields.
This contains any meta fields that were found in your database but aren』t associated with a particular plugin integration.
Note: To build the list of Additional Fields, for performance reasons WP Fusion only scans the usermeta of your own admin user. If you』ve just added a new field and it』s not showing, try saving some data in that field for your own admin user.
For the most part you can leave this section alone, but if you』re trying to sync data to your CRM from a plugin that WP Fusion doesn』t have an official integration with, you may find the field keys here.
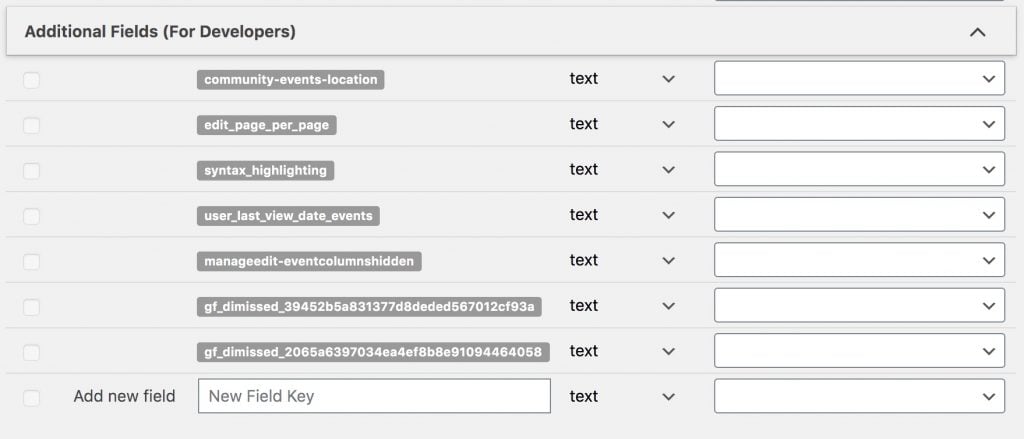
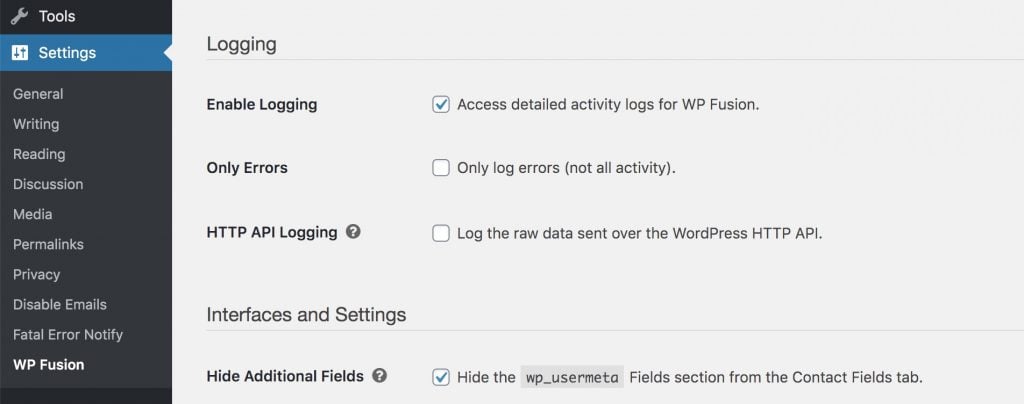
If you』re not using the Additional Fields you can hide them completely by checking the box for Hide Additional Fields on the Advanced settings tab.
If you』re a developer and are creating custom registration or profile forms, you can also type in new field keys into the Add new field line. The field you enter here should match the input name on your form. When the form is submitted, if WP Fusion detects an input with the matching name, then the value will be synced to the corresponding field in your CRM.
By default any enabled Additional Fields will only be synced if those fields are found on a submitted profile form.
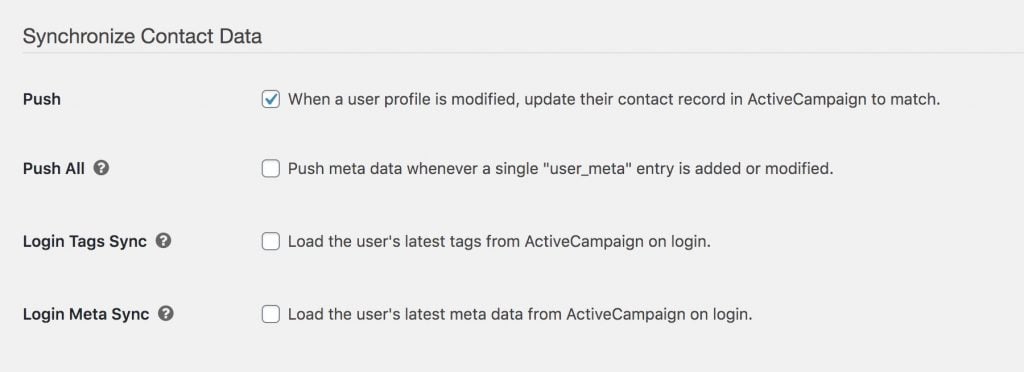
If you find the fields aren』t syncing, you can enable Push All from the General settings tab. This causes WP Fusion to run on the added_user_meta and updated_user_meta hooks, and will also sync the field values any time those keys are updated in the wp_usermeta table.
#How data is synced
WP Fusion can either 「push」 data from WordPress to your CRM, or 「pull」 data from your CRM to WordPress.
A 「push」 happens when someone registers a user account, updates their profile, or a batch operation is run. Any available WordPress fields from the left column are synced to their corresponding CRM custom fields from the right column.
A 「pull」 can happen in a few scenarios:
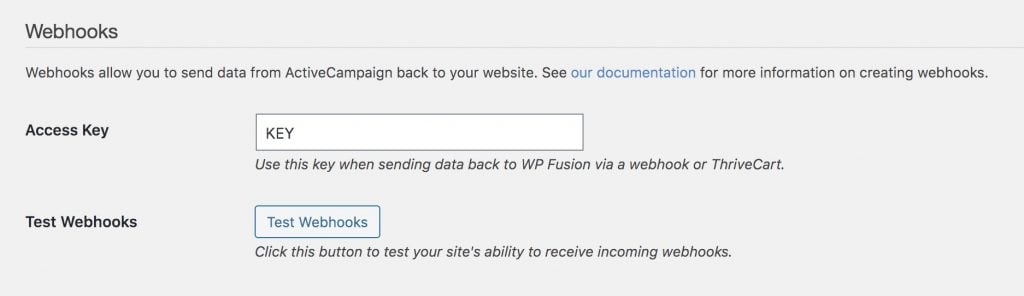
When a webhook is received
When someone logs in and Login Meta Sync is enabled
When a page is loaded that has the [wpf_update_meta] shortcode on it
When that happens any fields that are enabled in the right column on the Contact Fields list are loaded via an API call and saved to their corresponding WordPress fields in the database.
Note: By default WP Fusion will not send an empty field to your CRM, or load an empty field from your CRM into WordPress. This is to avoid overwriting any valid data with a blank value. This can be overridden by setting the field type to raw in the dropdown.
#Field types
For each field there is a Type dropdown where you can tell WP Fusion how to treat the data in that field. These are detected automatically for most plugin integrations and don』t usually need to be changed, but if needed you can click on the type and select a new type from a dropdown to override the defaults.

Generally text type fields are the most compatible. What the other types do depend on your connected CRM. For example:
If a field type is set to checkbox then the value will be converted to a boolean 「true」 or 「false」 when the API call is sent to supported CRMs.
If a field type is set to multiselect then array-formatted data sent to ActiveCampaign will be separated with pipes || to properly update ActiveCampaign list box and checkbox fields.
If a field type is set to country then a country abbreviation will be sent to your CRM, which is compatible with the Country dropdowns in Infusionsoft, Mautic, and others. If it』s set to text the full country name will be sent instead.
If a field type is set to date then a date sent to HubSpot will be converted to a Unix timestamp to properly update a HubSpot datepicker field.
If a field type is set to raw then WP Fusion will not perform any additional checks or formatting on the field data. Fields set to raw will also be synced to your CRM even if they are empty, which has a potential for data loss.
#Dynamic Tagging
With some platforms, WP Fusion can dynamically convert a user meta value into tags in the CRM. To set this up, select Create tag(s) from value from any Select a field dropdown.
When WP Fusion goes to sync the metadata to your CRM, it will convert the value into a tag. If the value is in an array format (like a multiselect or checkboxes field), then the selected values will be converted into multiple tags.
This should be used with caution as it can result in WP Fusion generating many hundreds or thousands of new tags.
#Was this helpful?
Let us know if you liked the post. That』s the only way we can improve.
Yes
No


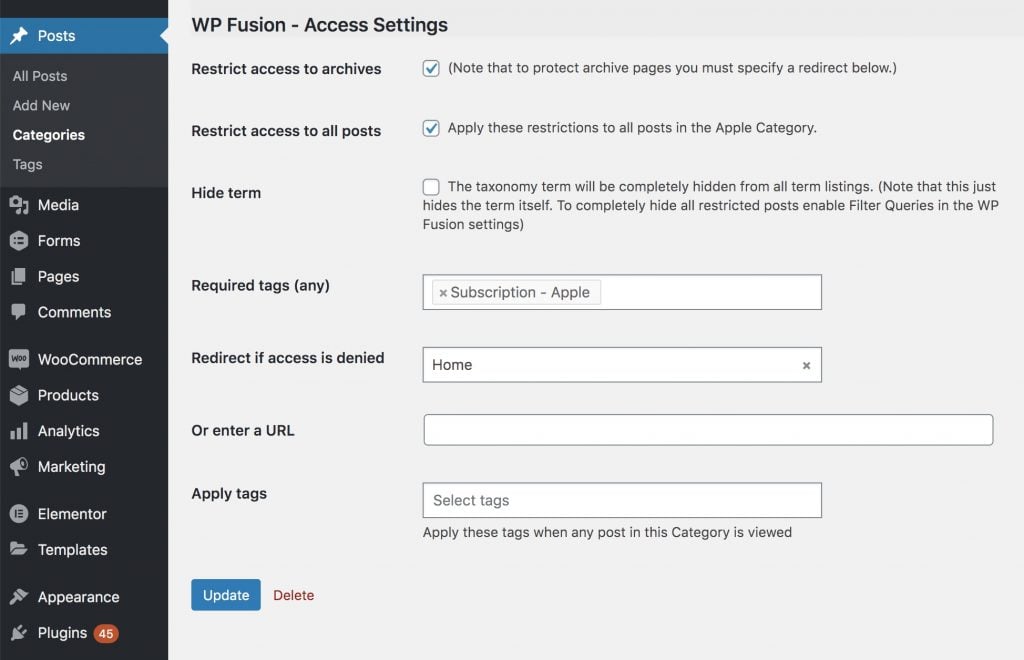
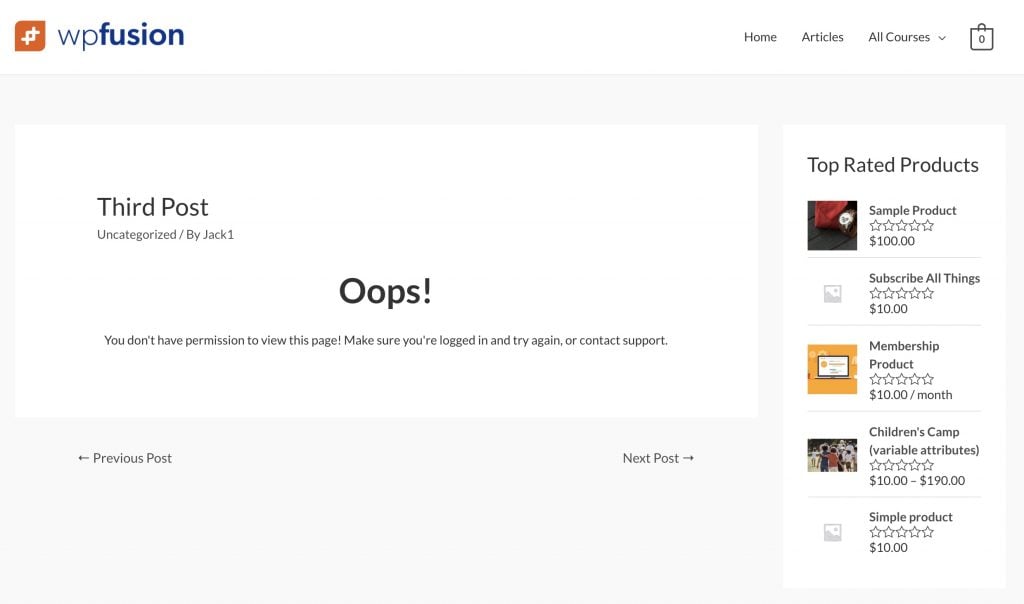 The restricted content message on a blog post.
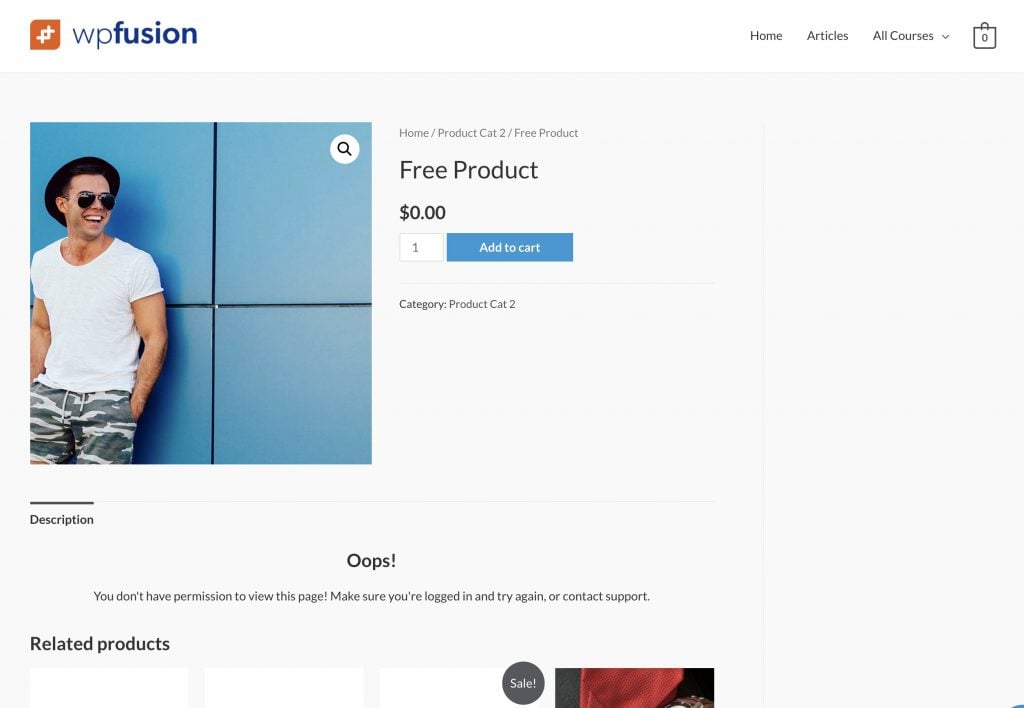 The Restricted Content Message isn』t as effective on a product page since the content area is only a small part of the layout.
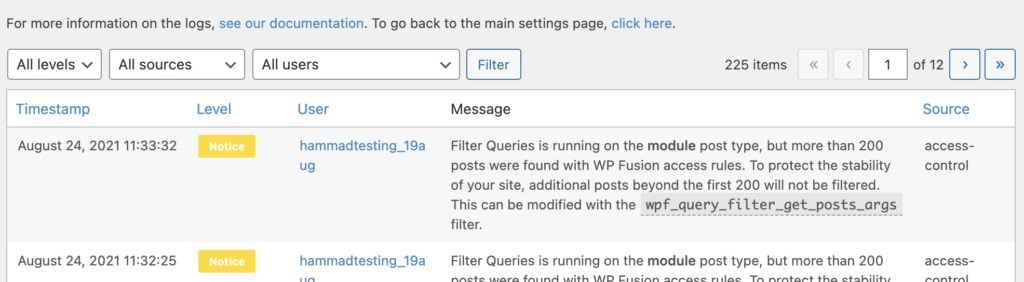 WP Fusion will log a notice if you attempt to process more than 200 posts at a time with Filter Queries in Advanced mode.
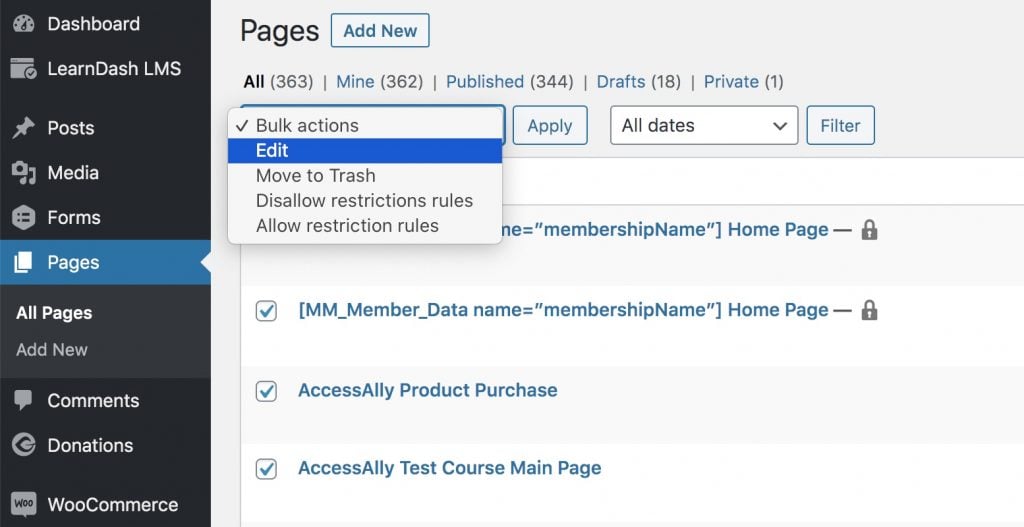 Access the bulk edit panel from the Bulk Actions dropdown
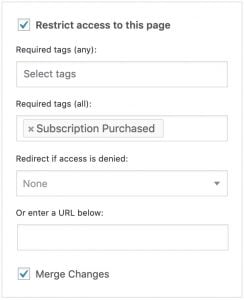


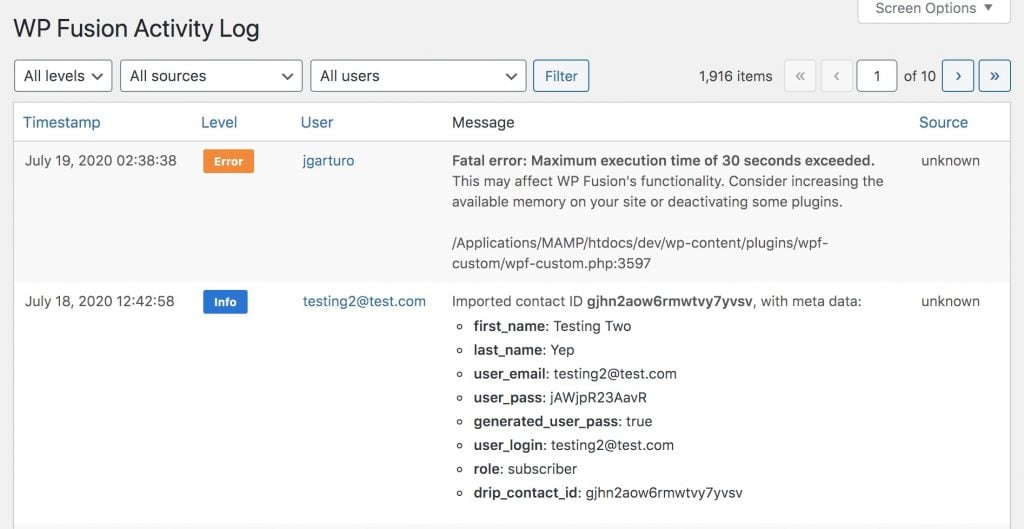
 The Fatal Error Notify plugin can ping you on Slack when WP Fusion encounters an API error
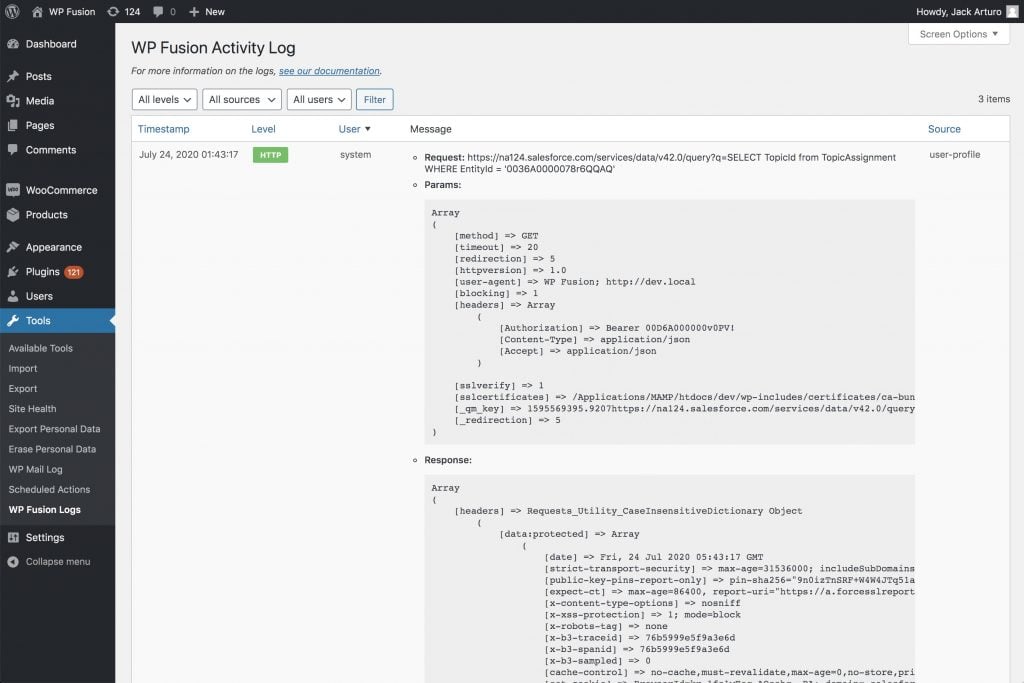 HTTP API logging records the raw HTTP requests and responses from your CRM.