Oxygen

Oxygen

#Overview
WP Fusion lets you control the visibility of Oxygen components based on a user』s CRM tags. When editing a component, open the Conditions menu, and click Set Conditions to open the conditions modal.

Under the User section, select CRM Tags.

For each condition you can either select Has tag or Does not have tag. You can combine multiple conditions by clicking the Add Condition button.
If Does not have tag is selected, the component will be shown to logged-out users. You can limit visibility to only logged-in users by adding an additional User Logged In condition.

#Was this helpful?

Let us know if you liked the post. That』s the only way we can improve.

Yes

No

Beaver Builder

Beaver Builder

#Overview
WP Fusion includes an integration with Beaver Builder to let you control visibility of modules based on a logged in user』s tags in your CRM. You can also personalize post grids in Beaver Builder based on a user』s access permissions.
#Module Visibility
To set this up, open the settings for any row or module, and click on the Advanced tab. Under the Visibility section, you will see two options in the dropdown: 「User Tags (any)」, and 「User Tags (not).」

In the select box, you can select any number of tags that are required to display that element.

User Tags (any): If tags are specified, the element will be hidden from logged out users, and will only be displayed for users who have at least one of the selected tags.
User Tags (not): The element will not be shown to users who have any of the specified tags.

The second method is useful for hiding content like popups and lead forms from subscribers or paying members.
If you select 「User Tags (not)」, an additional option will appear: Logged Out Behavior. This has two options:

Default (hidden): The element will not be shown to users who have any of the specified tags, and will not be shown to guests.
Display: The element will not be shown to users who have any of the specified tags, but will be shown to guests.

#Filter Queries
In the WP Fusion general settings there is a Filter Queries setting that lets you hide all posts on your site if a user doesn』t have the right access permissions to access that post.
This works with the Beaver Builder Posts module as well, but there may be situations where you need to leave that option turned off globally, but do want to enable query filtering on a single Beaver Builder posts list. For example to show a personalized list of courses or products that are available to that user.
To enable this on a single Posts module, set the Source to Custom Query, and at the bottom of the Content tab, set Filter Queries to Yes.

With this enabled any posts that the user doesn』t have the correct tags to access will be removed from the posts listing.
#Beaver Themer
With the Beaver Themer plugin installed, WP Fusion registers additional options in the conditional logic editor. These can be used to create display rules based on a user』s CRM tags that are more complex than the options available when using Beaver Builder alone.

From the conditions dropdown, select User』s CRM Tags and then you can select either contains or does not contain, and select a CRM tag.
The rules will be calculated when a page is displayed and the element will be hidden or shown based on the current user』s tags in your CRM.

#Was this helpful?

Let us know if you liked the post. That』s the only way we can improve.

Yes

No

Divi

Divi

#Overview
WP Fusion lets you control the visibility of Divi modules based on a logged-in user』s CRM tags.
When editing a module, select the Advanced tab, and scroll down to the Visibility section.

You can enter a comma-separated list of tag names or tag IDs. If the user doesn』t have any of the specified tags, the module will be hidden.
#Advanced method
For more advanced control, install and activate the Content Visibility for Divi plugin. When editing any module, you』ll now see a new setting where you can put in rules regarding when that module should be displayed.

The setting accepts any PHP expression that evaluates to either 「true」 or 「false」. Using WP Fusion』s has_tag() function you can create very specific rules regarding when a module should be displayed.
For example:

Require the tag Active Subscriber to view the module:
wpf_has_tag( 'Active Subscriber' )
Require both the Active Subscriber and Gold Member tags to view the module:
wpf_has_tag( 'Active Subscriber' ) && wpf_has_tag( 'Gold Member' )
Require either the Active Subscriber or Gold Member tags:
wpf_has_tag( 'Active Subscriber' ) || wpf_has_tag( 'Gold Member' )
Only show the module if the user is logged in and does not have the tag Payment Failed:
! wpf_has_tag( 'Payment Failed' )


#Was this helpful?

Let us know if you liked the post. That』s the only way we can improve.

Yes

No

Elementor

Elementor

#Overview
WP Fusion includes an integration with Elementor to let you control visibility of page elements based on a user』s tags in your CRM or marketing automation platform.
WP Fusion also supports syncing Elementor Forms entries to your CRM. For more info on that, see this page.
#Access Control
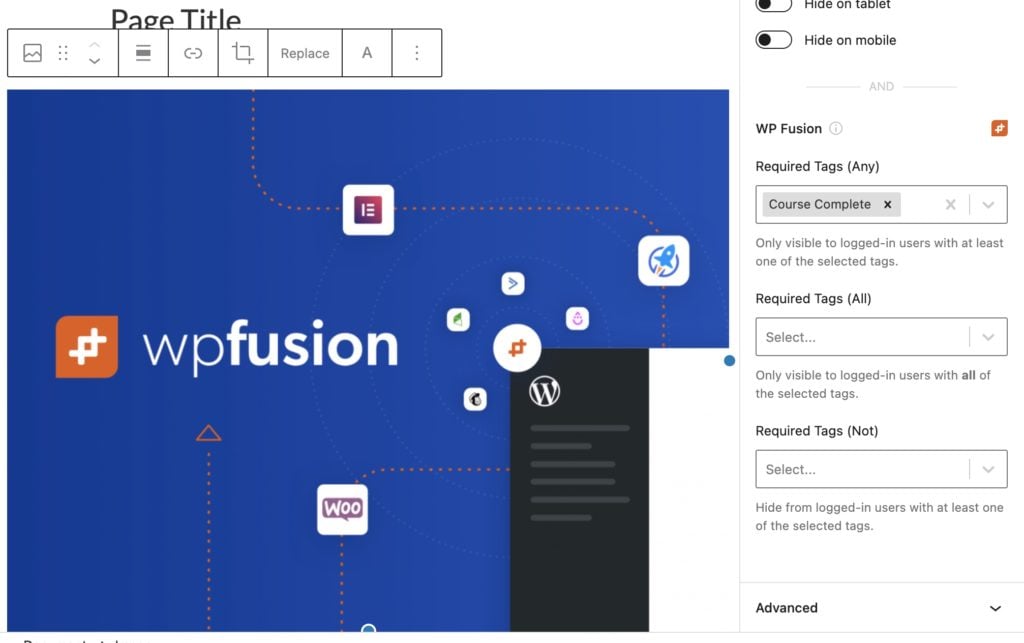
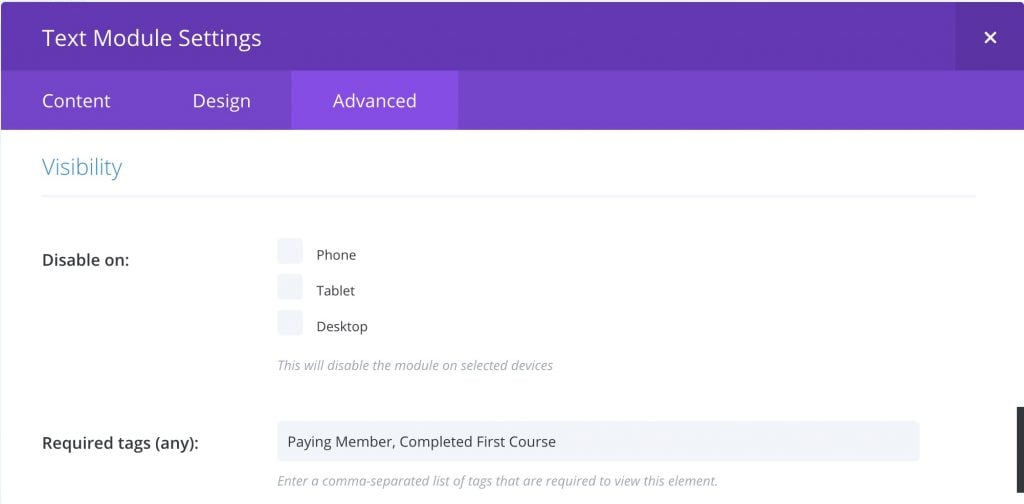
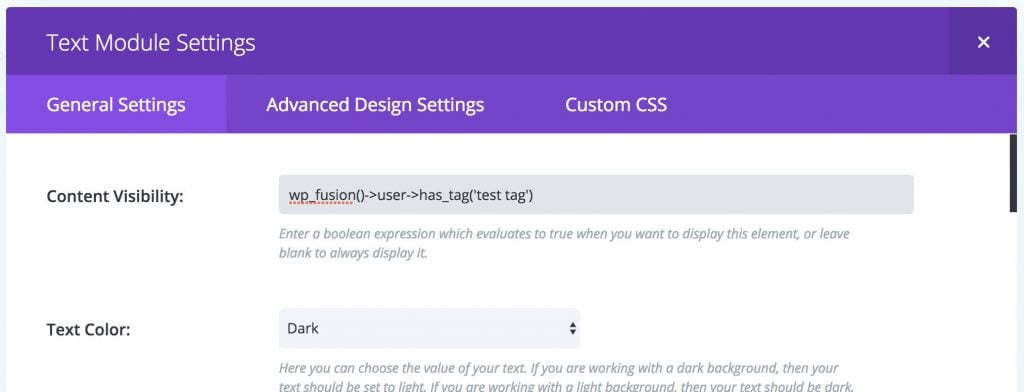
To set up access rules on Elementor elements, open the settings for any widget, and click on the Advanced tab. Under the WP Fusion section, you will see several settings.

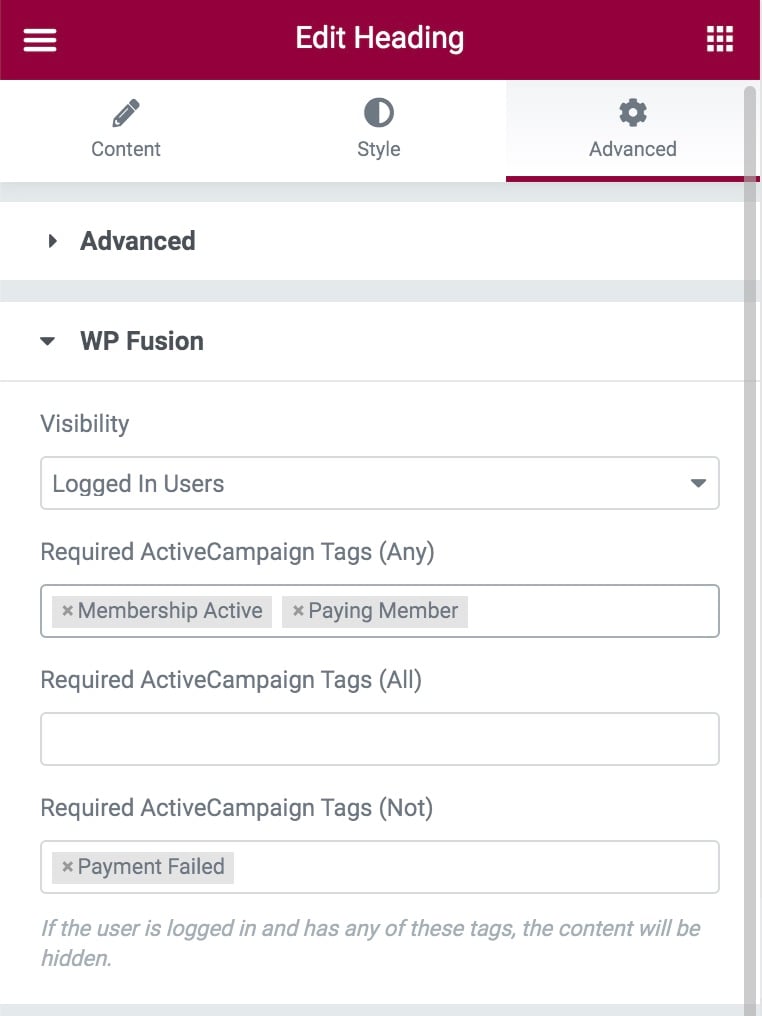
The Visibility dropdown sets the default visibility for the widget. The options are:

Everyone: The widget will be visible to everyone regardless of whether they』re logged in or not (this is the default)
Logged In Users: The widget will only be visible to logged in users
Logged Out Users:  The widget will only be visible to guests on your site

Depending on the visibility mode you』ve selected, there will be additional options

Required Tags (any): The element will only be shown if the user is logged in and has at least one of the specified tags
Required Tags (all): The element will only be shown if the user is logged in and has all of the specified tags
Required Tags (not): If the Visibility mode is set to Everyone, the element will be shown to guests, and hidden from logged in users if they have any of the specified tags. If the visibility mode is set to Logged In Users, the element will be hidden from guests, and hidden from logged in users if they have any of the specified tags

#Elementor Popups
With Elementor Pro, WP Fusion also adds the ability to control the display of popups based on a user』s tags. To set this up, first create your popup, and then open the Advanced Rules window.

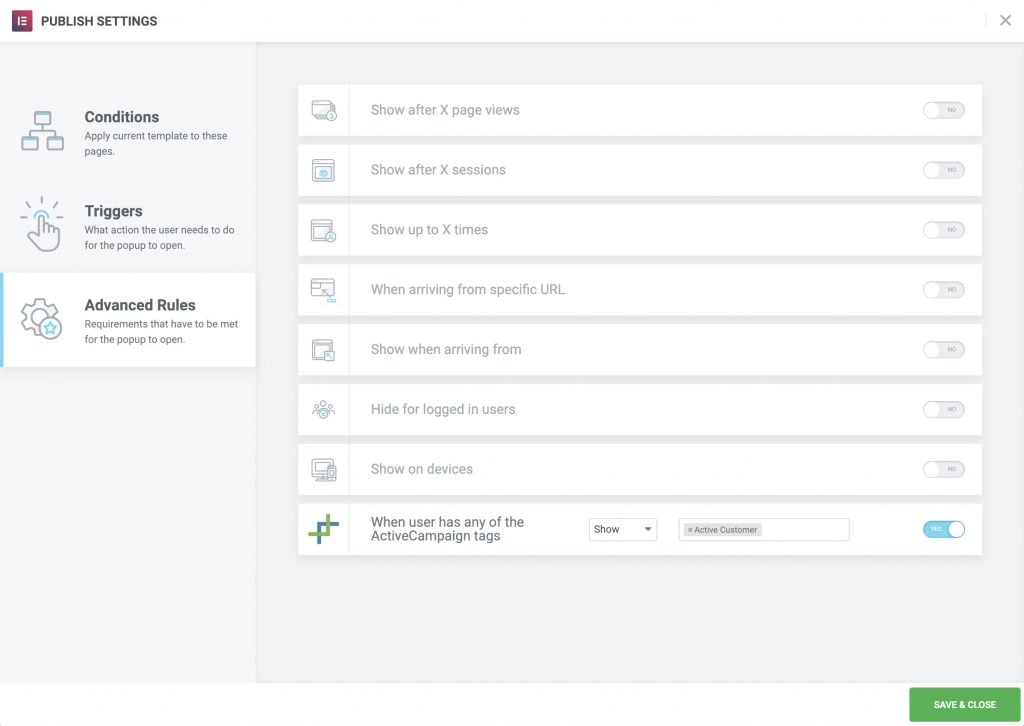
Click the toggle switch to turn on the WP Fusion condition. There are two options:

Show: The popup will only be shown to logged in users who have at least one of the specified tags.
Hide: The popup will be hidden from logged in users who have at least one of the specified tags.
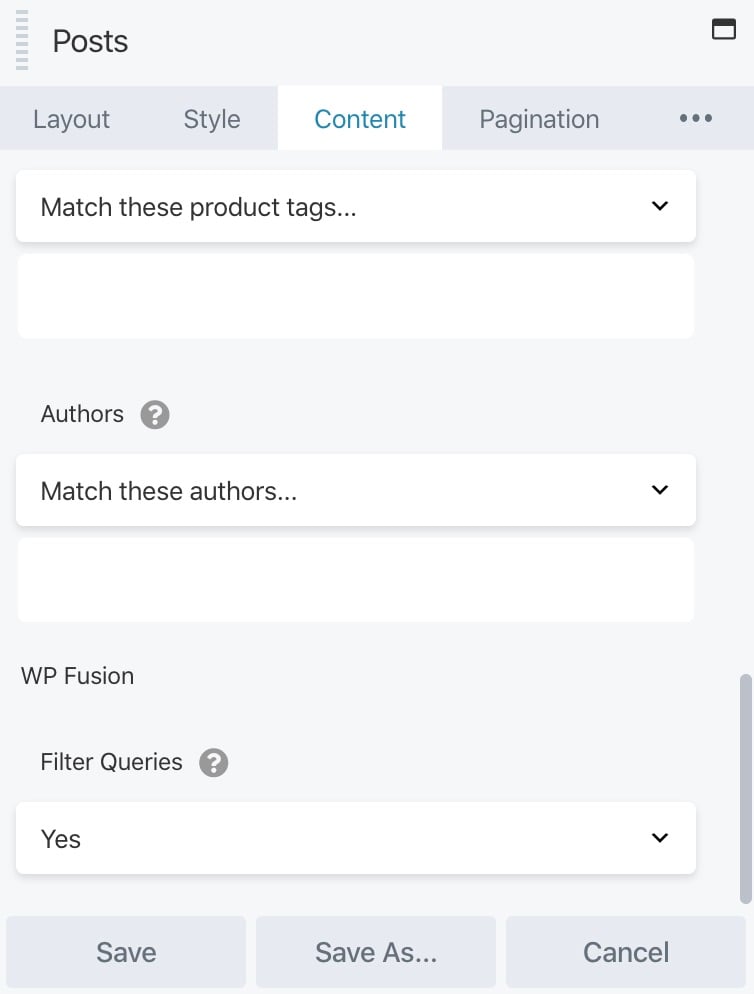
#Filter Queries
WP Fusion adds an option to the Posts and Portfolio widgets in Elementor Pro which allows you to filter the displayed results using WP Fusion』s access rules.
To turn this on enable the setting for Filter Queries in the Query tab of the widget settings.

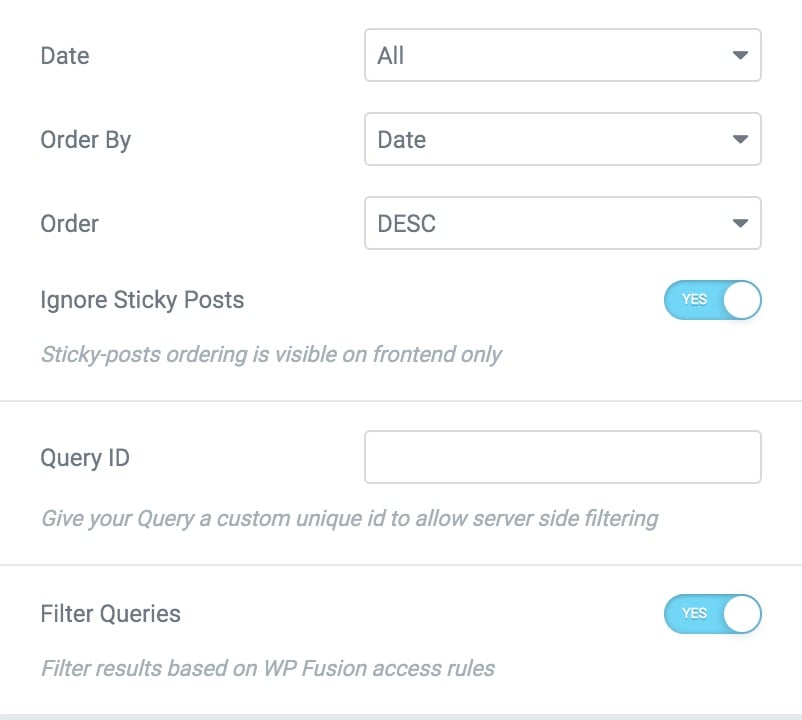
With this setting on, any posts the user doesn』t have access to will be removed from the results.
You can use this to create personalized post listings, for example of courses or media items.
#Tracking clicks
WP Fusion can track clicks on Elementor buttons and elements by applying tags in your CRM. For more info see the bottom of Link Click Tracking.

#Was this helpful?

Let us know if you liked the post. That』s the only way we can improve.

Yes

No

Gutenberg

Gutenberg

#Overview
WP Fusion integrates with the Gutenberg editor in WordPress 5.0+ to let you control access to content based on a user』s logged-in status and CRM tags.
#Block Visibility
The recommended solution for block visibility control with WP Fusion is to use the Block Visibility plugin.
After installing Block Visibility, click on your block, and in the right panel, scroll down to the Visibility section.
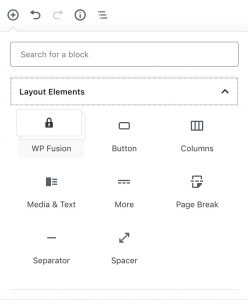
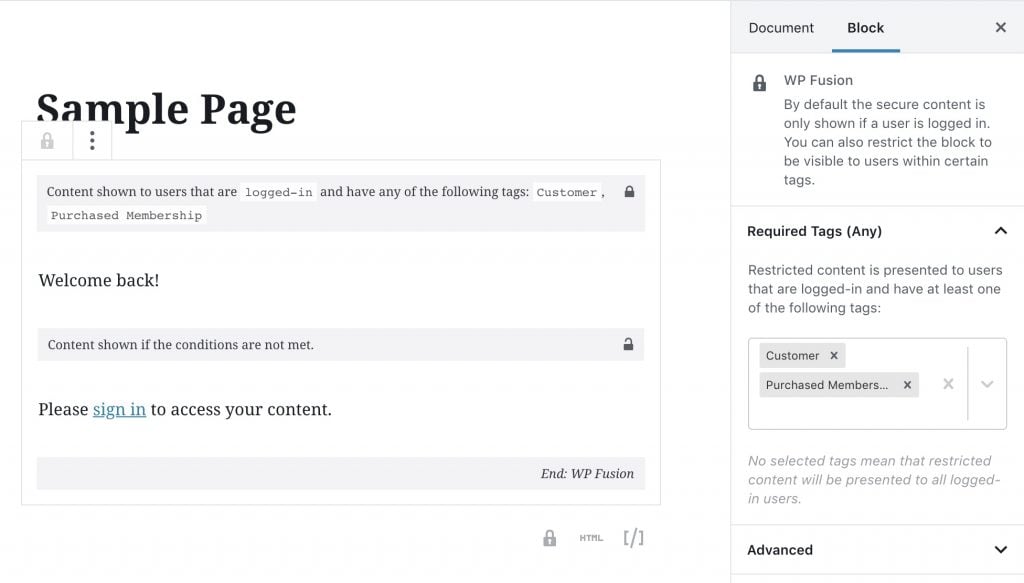
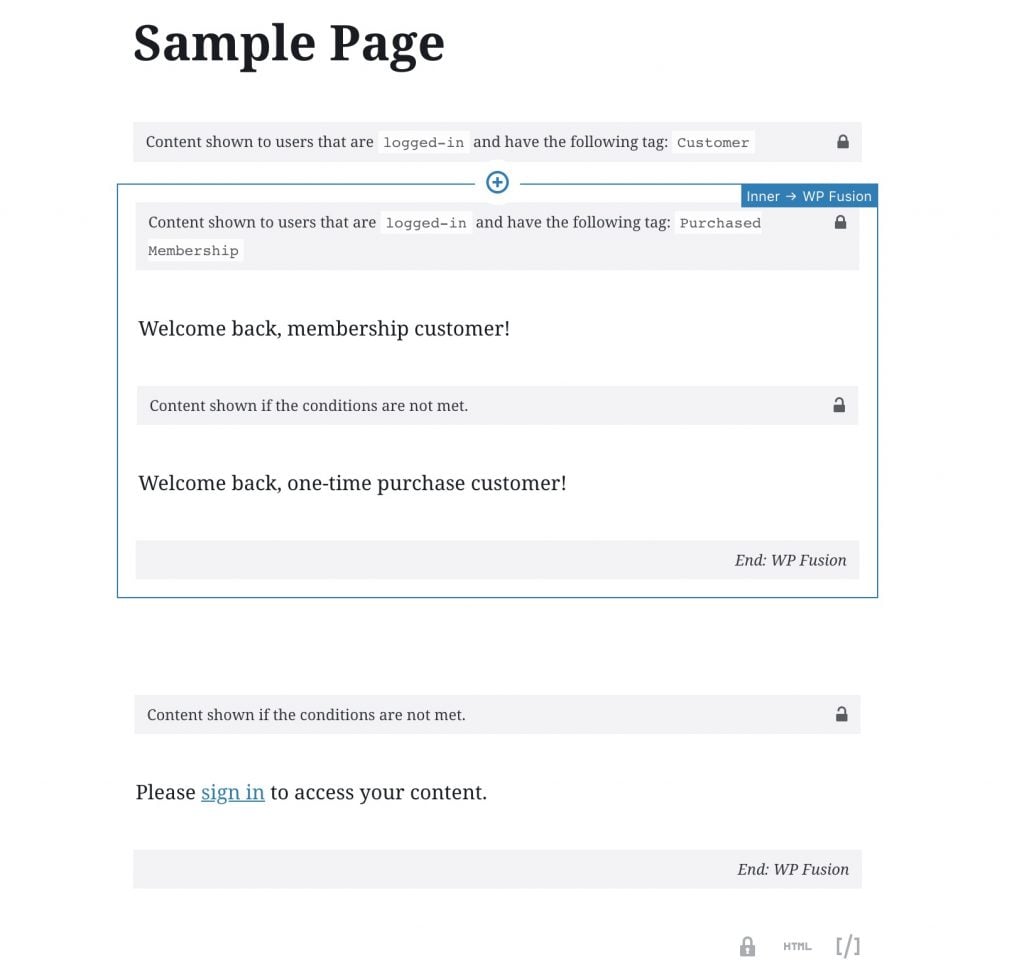
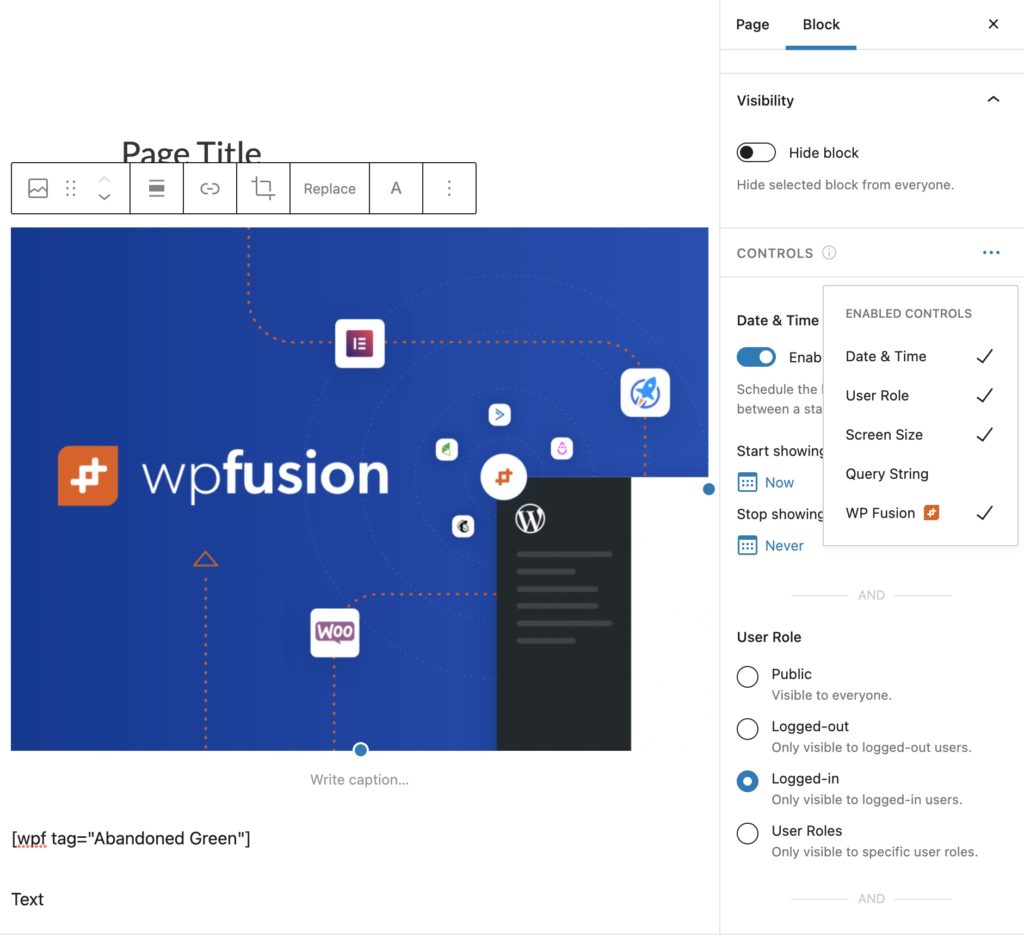
Using Block Visibility you can control access to Gutenberg blocks using CRM tags.
If the WP Fusion section doesn』t appear, click on the Controls banner, and enable the WP Fusion controls.

In the WP Fusion settings, there are three block visibility options:

Required Tags (Any): The block will only be shown if the user is logged in and has at least one of the specified tags (requires User Role to be set to Logged-in).
Required Tags (All): The block will only be shown if the user is logged in and has all of the specified tags
(requires User Role to be set to Logged-in).
Required Tags (Not): If a user is logged in and has any of the specified tags, the block will be hidden.

#Layout Block
WP Fusion also includes a built-in layout block, which allows you to drop other blocks into a container that is protected using tags in your CRM.
#Basic usage
To get started, click on the + icon to add a new block, and select the WP Fusion block from the Layout Elements section.

The WP Fusion block will then be added to the content editor. Once the block appears, click on it and the block settings will appear in the sidebar.

The top section of the block is what will be shown if the user is logged in. You can also specify any tags that are required in the sidebar. If the user is not logged in, and does not have any of the specified tags, they will be shown the content in the bottom section.
You can type text directly into the block, or add any other block to the inner section by clicking the + icon.
#Advanced usage
You can nest multiple WP Fusion blocks within eachother to create more complex access rules.

In the screenshot above, the message 「Welcome back, membership customer!」 will be shown to logged in users who have both of the tags 「Customer」 and 「Purchased Membership」.
「Welcome back, one-time purchase customer!」 will be shown if they just have the 「Customer」 tag.

#Was this helpful?

Let us know if you liked the post. That』s the only way we can improve.

Yes

No