#Overview
Using WP Fusion with the Forms element in Elementor Pro allows you to send form submissions to any one of of 40+ supported CRMs and marketing automation platforms.
#Setup
After creating a form, open the Actions After Submit pane and select WP Fusion from the dropdown of available actions.
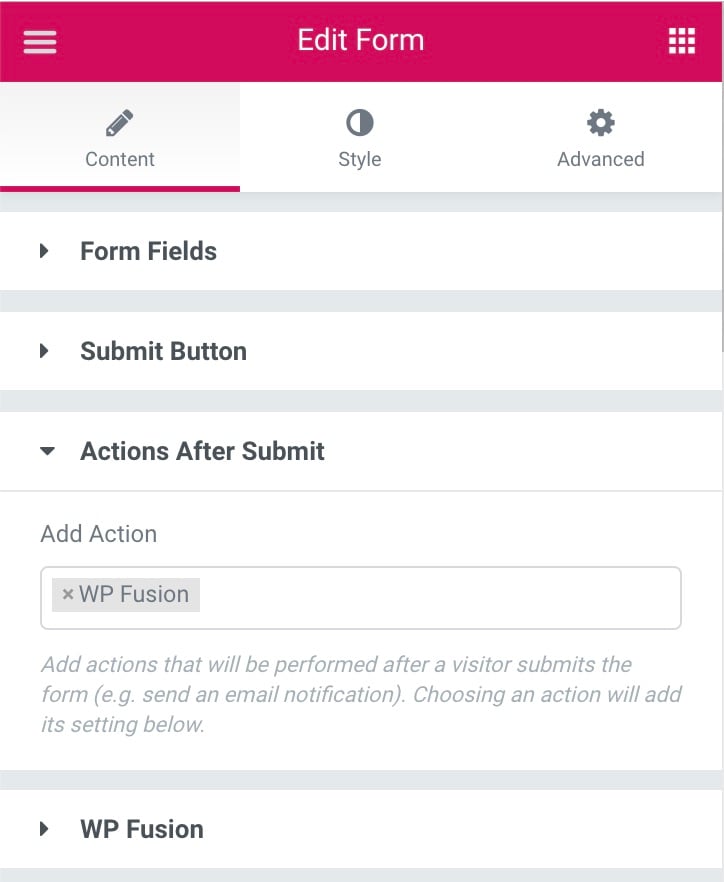
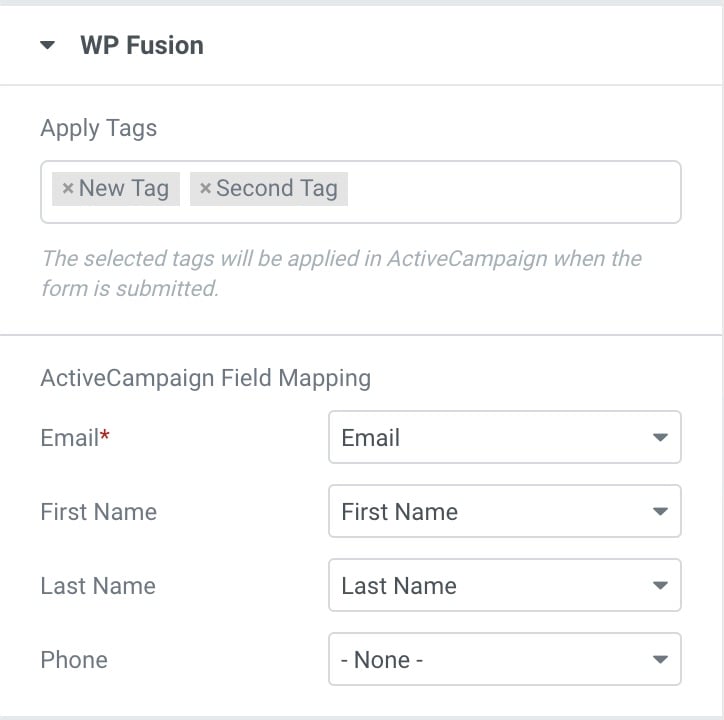
A new panel will appear where you can specify any tags that should be applied in your CRM when the form is submitted, as well as set up field mapping between fields on your form and fields in your CRM.
#Return After Login
It』s possible to require an email optin via an Elementor form in order to access protected content on your site.
To set this up, first go into the post you』d like to protect, and in the WP Fusion meta box, enable Users must be logged in to view this content. You can optionally specify some required tags. For the Redirect if access is denied, select the page with your Elementor form from the dropdown.
Then in the main WP Fusion settings, enable the option for Form Auto Login. This will start a tracking session whenever your Elementor form is submitted.
Finally, enable the setting for Return After Login.
Now, when a visitor tries to access the protected content, they will be redirected to the page with your Elementor optin form on it. When the form is submitted, a contact record will be created in your connected CRM, and any specified tags will be applied.
This will start an auto-login session, which unlocks any content protected by WP Fusion. Finally, the Return After Login feature will redirect the lead back to the post or page they』d previously tried to access.
#Was this helpful?
Let us know if you liked the post. That』s the only way we can improve.
Yes
No