Warning: As of November 2020 we do not recommend relying on MailerLite webhooks for anything critical (such as creating a new WordPress user account for a customer).
Since September the webhooks system in MailerLite has been down on multiple occasions, for extended periods (up to a week). This means that your customers will not get access to your site until you manually create an account for them.
#Overview
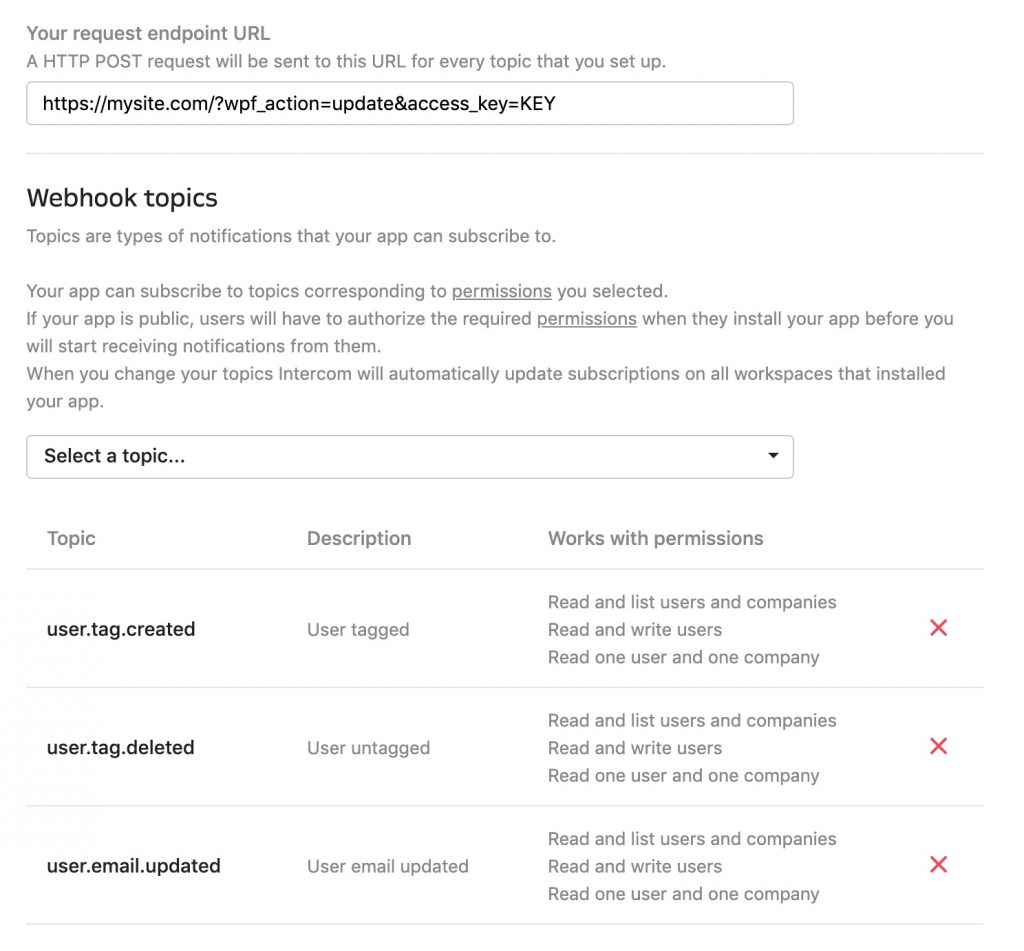
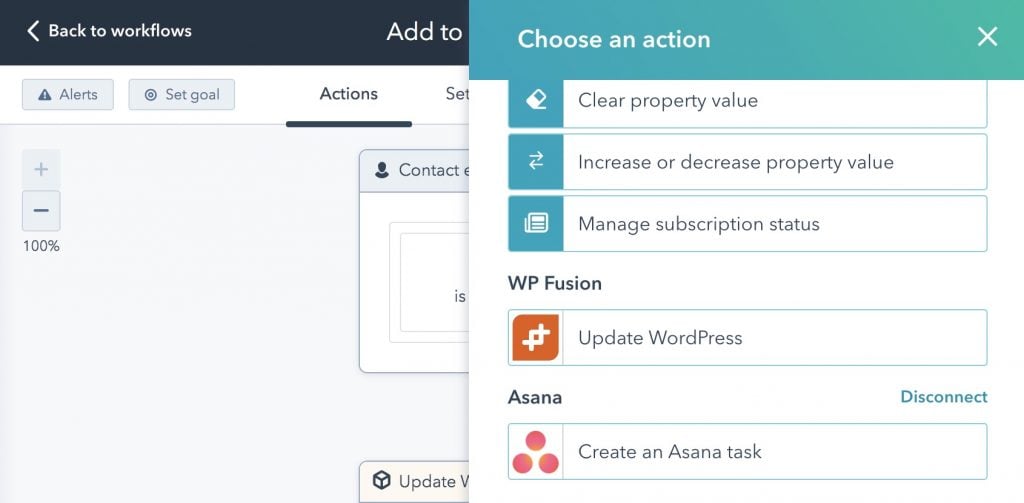
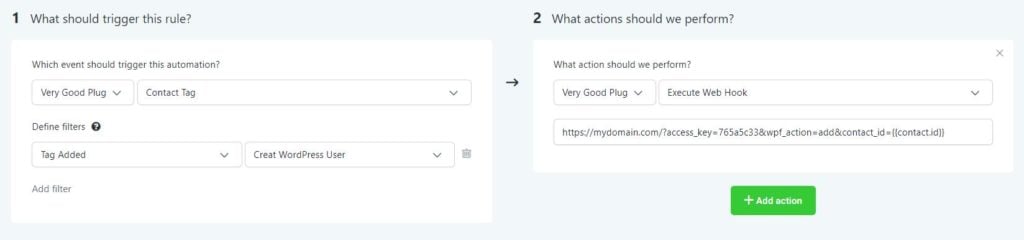
Using webhooks with MailerLite you can create new users on your WordPress site when subscribers are added to a certain group, or automatically update existing users』 meta data and groups when changes happen in MailerLite.
Having trouble receiving webhooks? Check out our troubleshooting guide.
#Getting Started
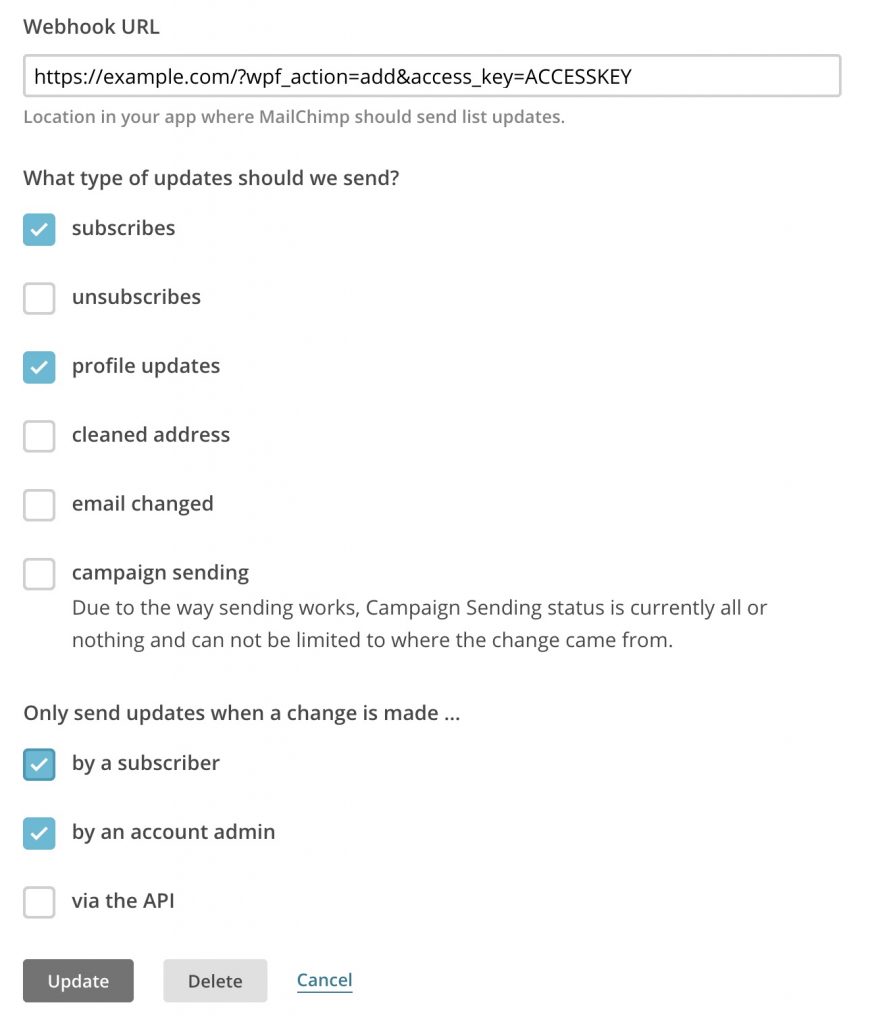
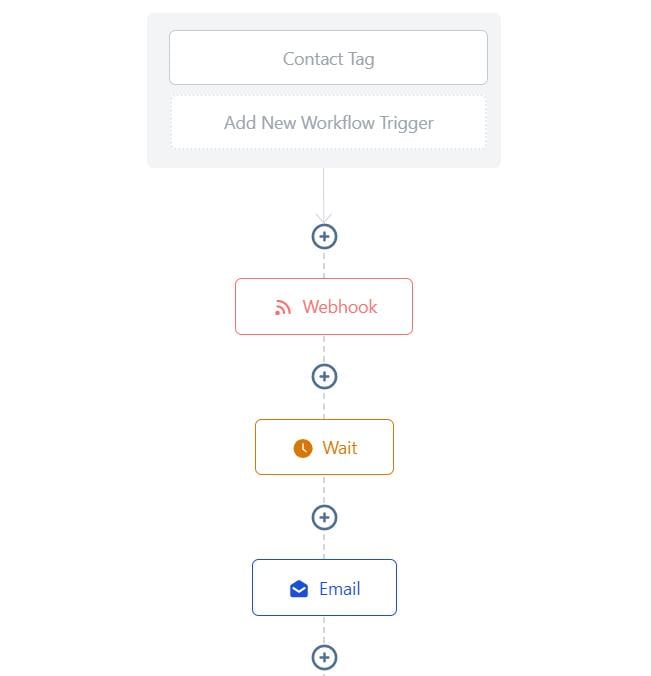
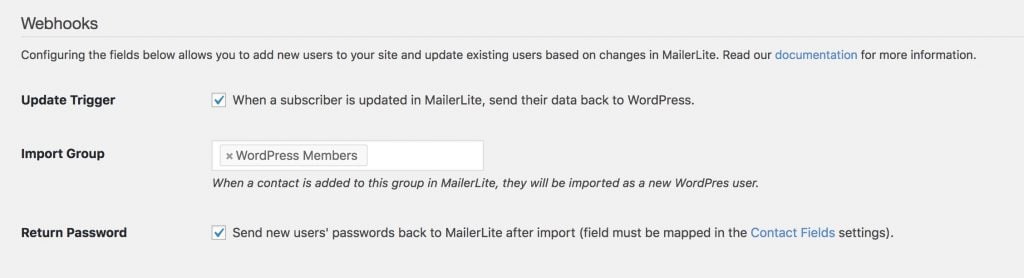
The 「update」 method is very straightforward: check the checkbox next to Update Trigger, and any subscriber updates in MailerLite will automatically be synced back to WordPress.
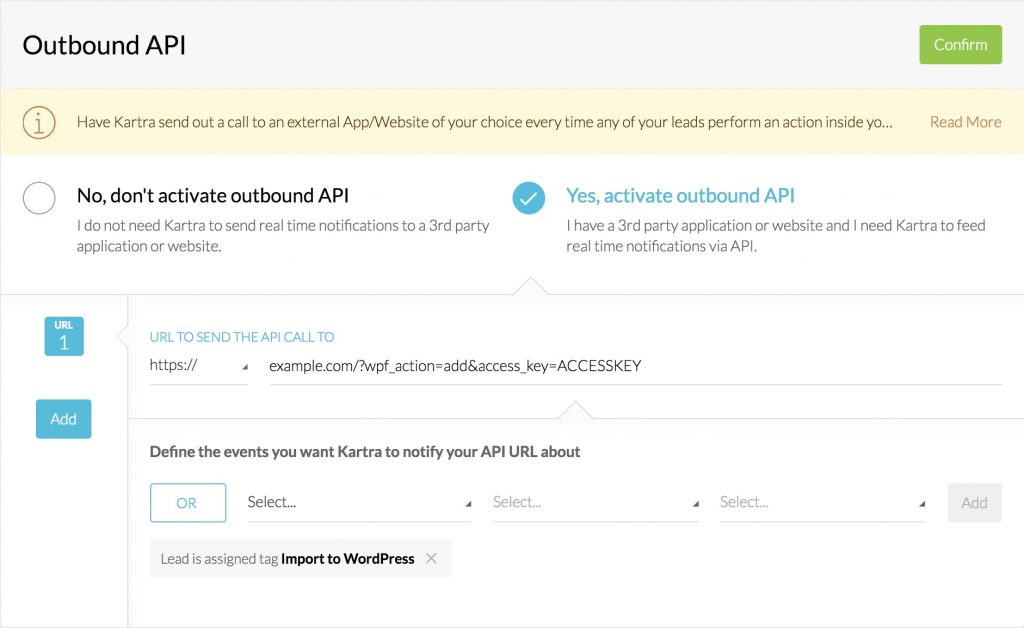
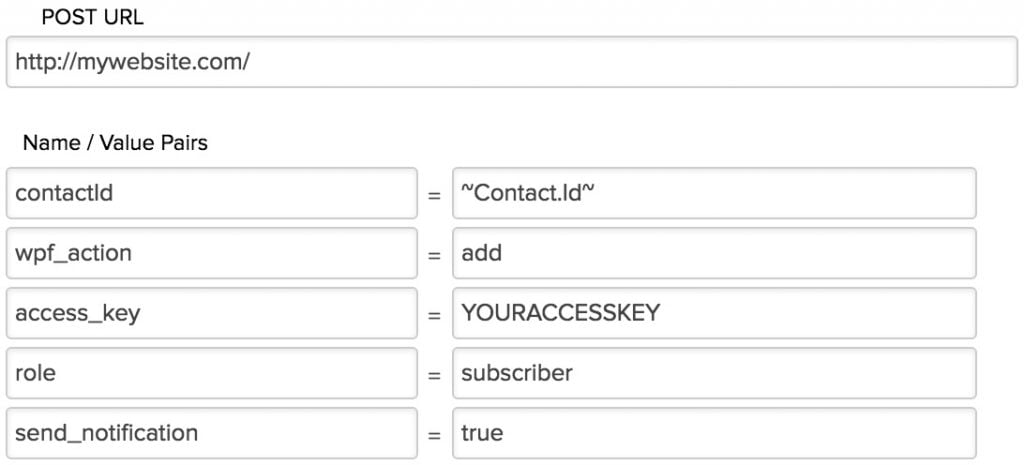
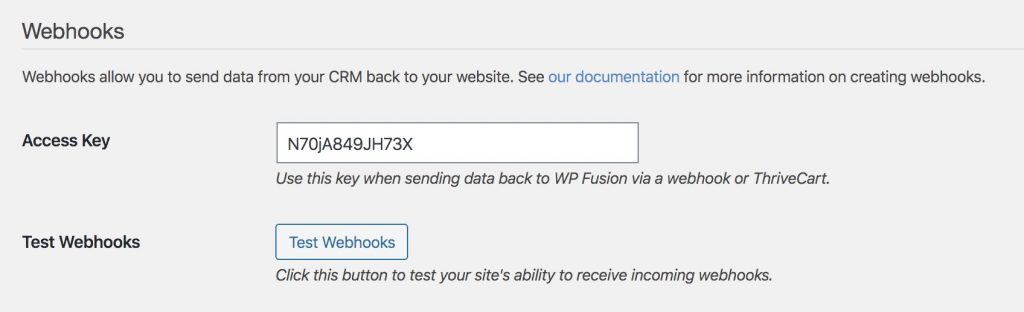
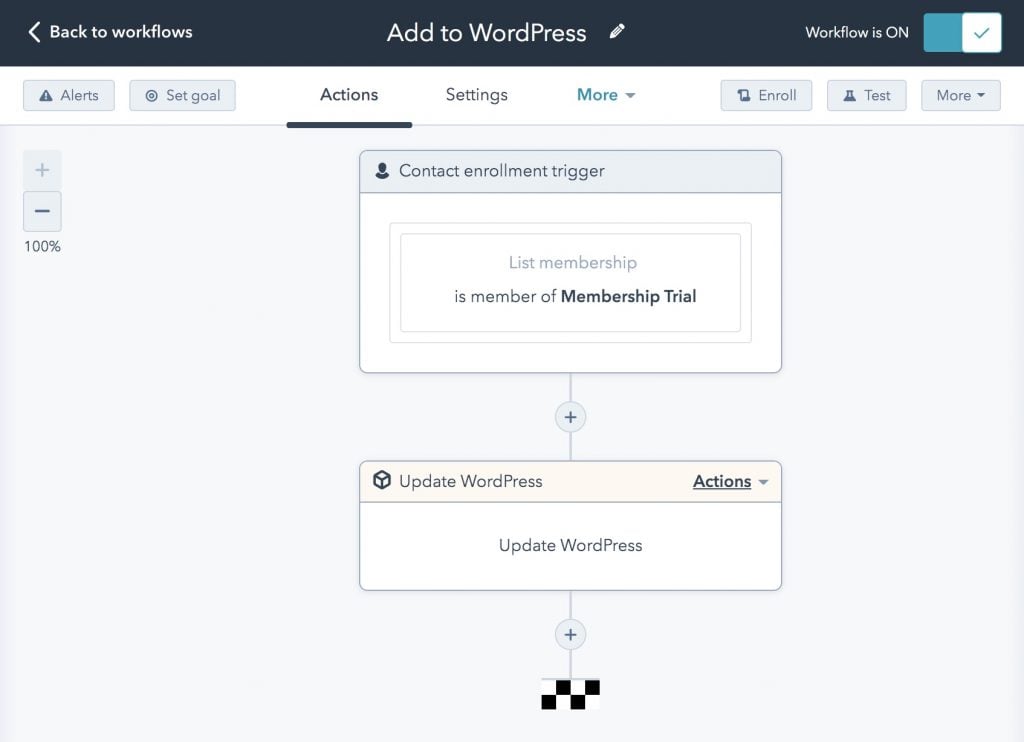
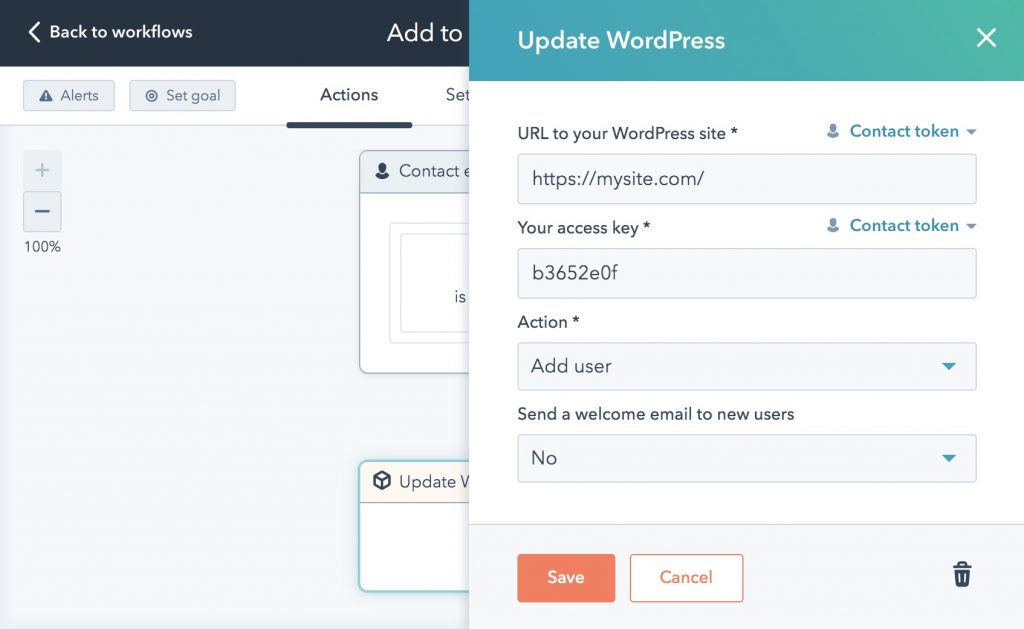
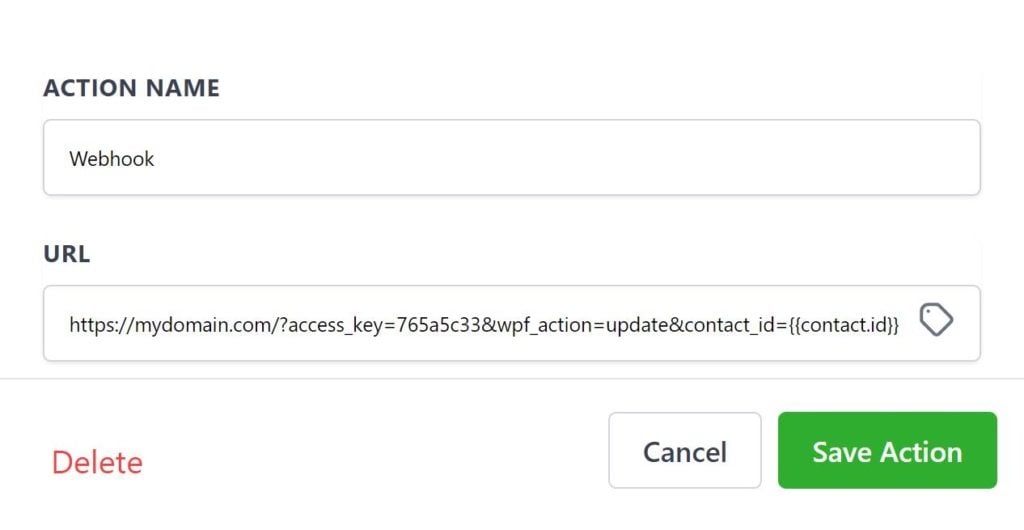
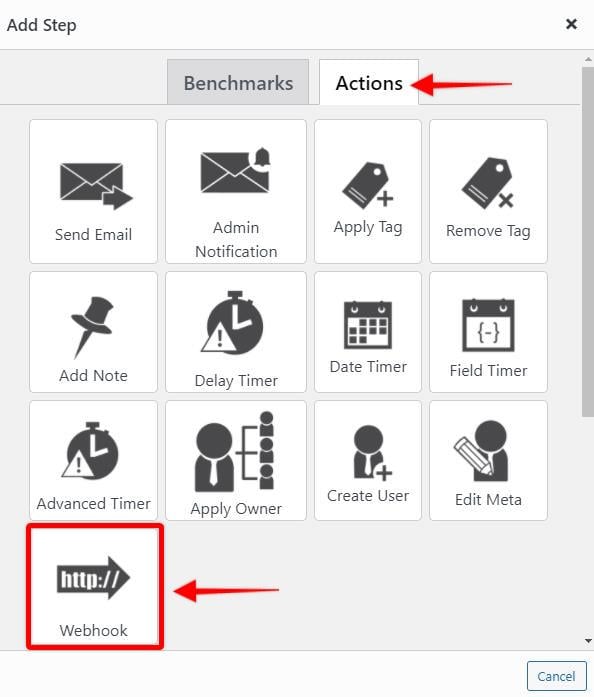
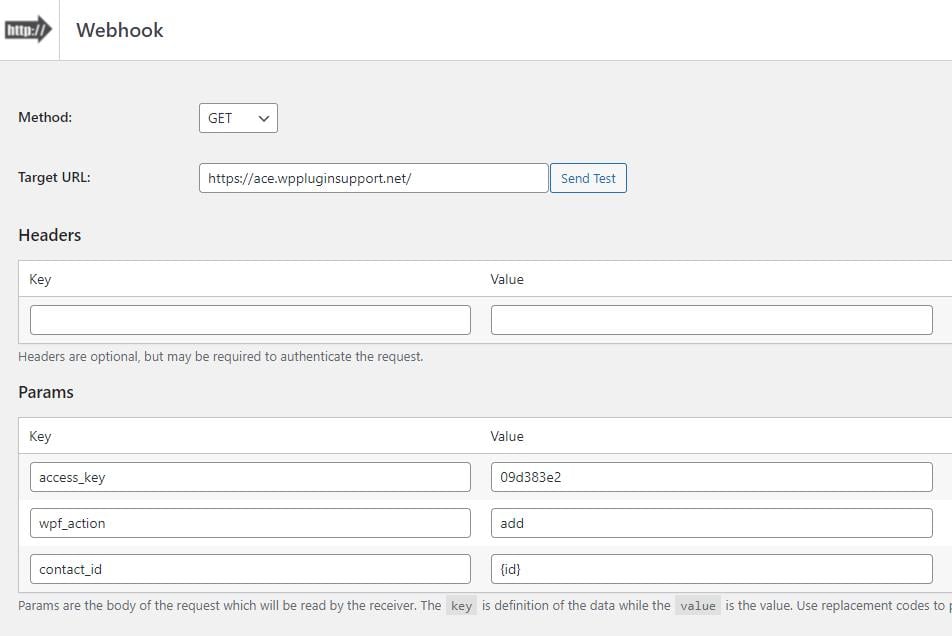
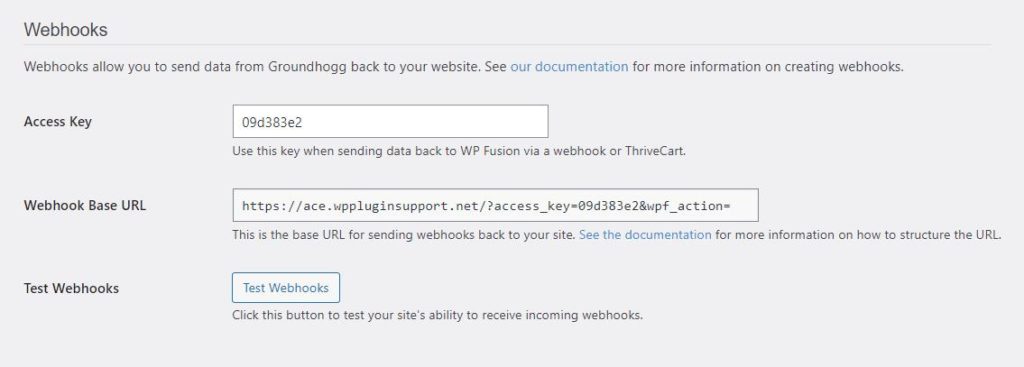
To automatically add MailerLite subscribers as WordPress users, first create a group that designates site members. Then navigate to the Webhooks section on the General settings tab of the WP Fusion settings, and select this group from the dropdown. Now, whenever a subscriber is added to this group, they will automatically be imported as a new WordPress user.
The import group method will update a user if an existing user already exists. It will not create a duplicate user.
Note: By default, user accounts will be created with their email address as the username and a randomly generated password. However, if you have created a custom username field and password field in MailerLite, and enabled these fields in WP Fusion for sync with user_login and user_pass on your website, the new users will be given the usernames and passwords stored in their MailerLite contact record.
#User passwords
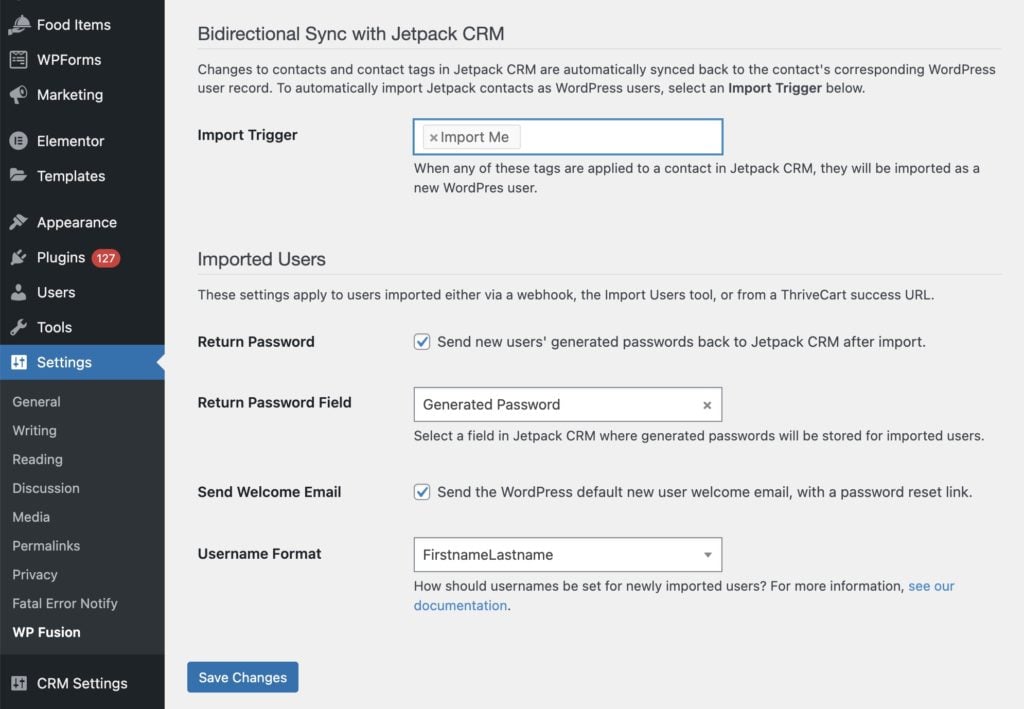
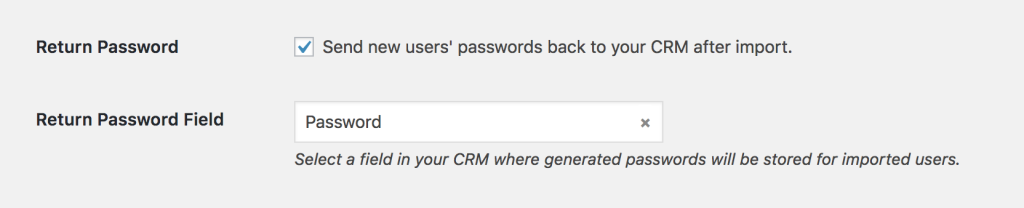
New user accounts will be created with an automatically generated password. If you』d like to use this password in your email marketing, you can send the password back to MailerLite after it has been generated.
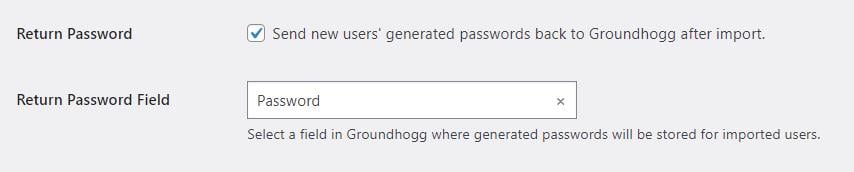
In the Webhooks section of the General settings tab, check the box for Return Password, and select a field in MailerLite where the password should be stored.
After a new user is created, their automatically generated password will now be saved back to their contact record, and you can use a merge field to include it in an email. The username will be the contact』s email address.
#Was this helpful?
Let us know if you liked the post. That』s the only way we can improve.
Yes
No