How to Connect Salesforce to WordPressIn this video, you will learn how to install WP Fusion and set up a direct connection to your Salesforce account.
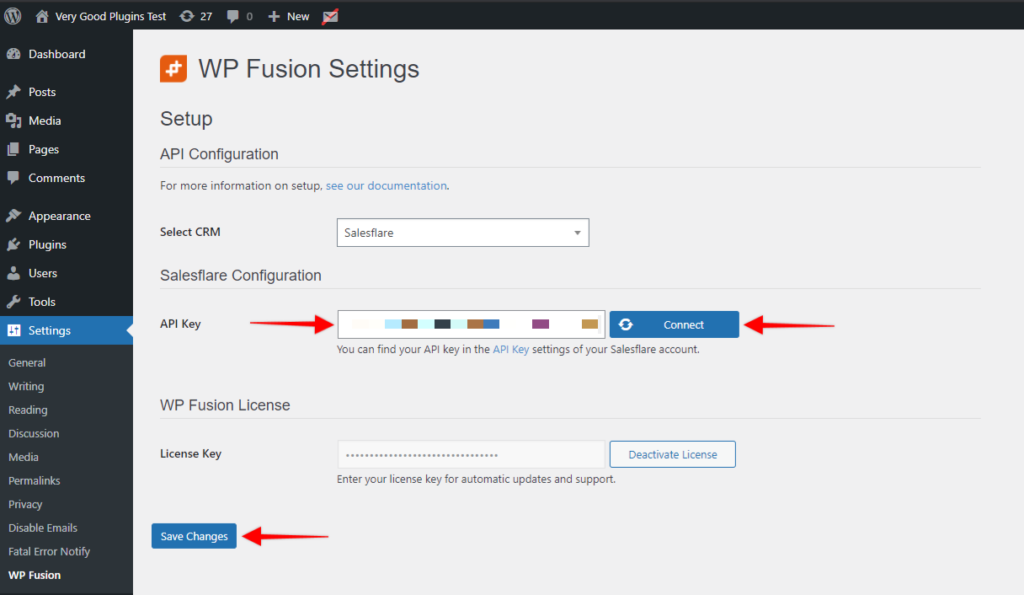
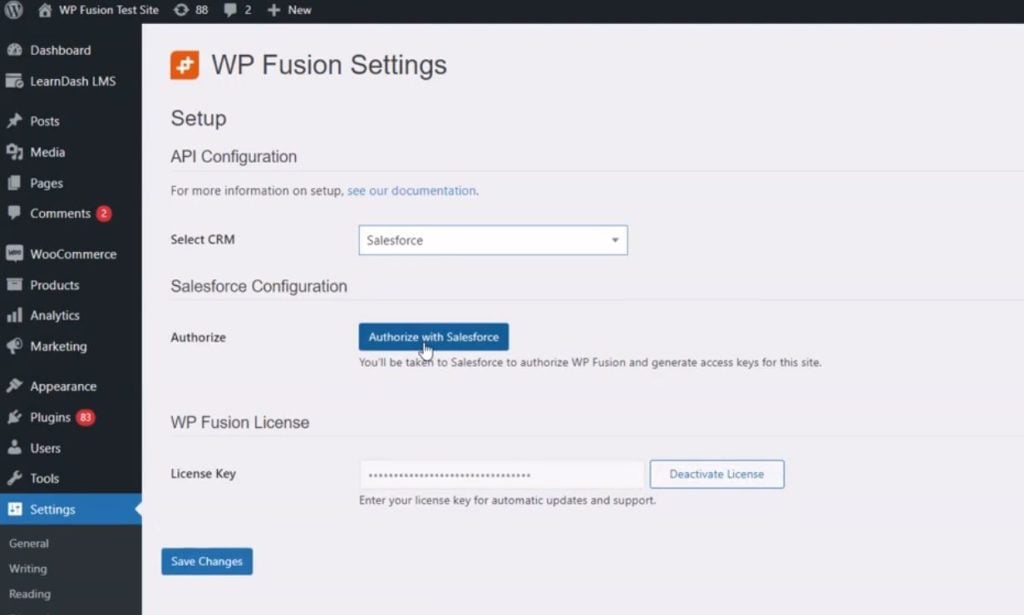
To get started install and activate the plugin, then navigate to settings -> WP Fusion.
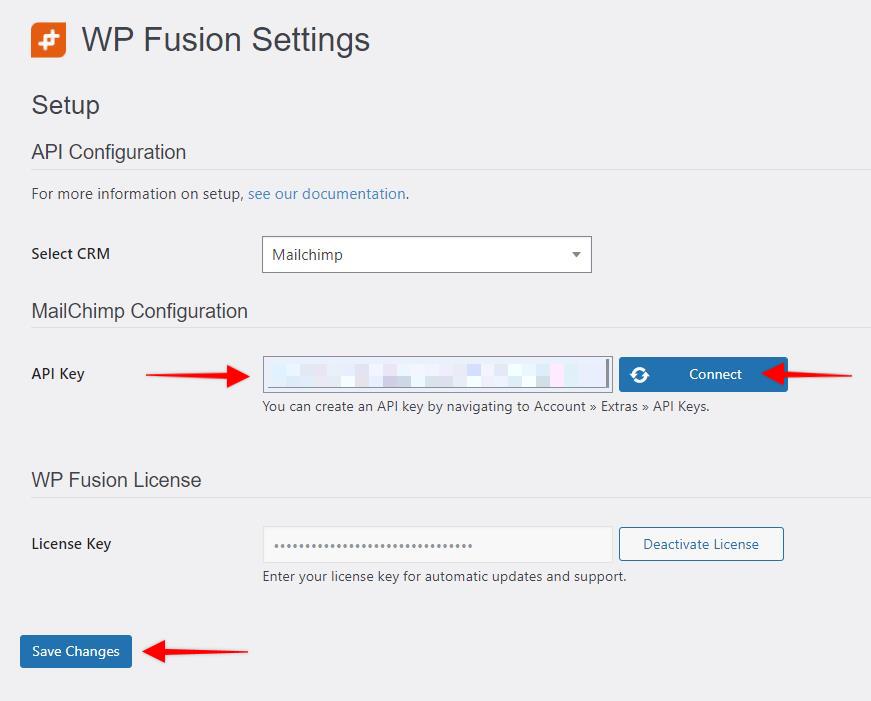
From the 『Select Your CRM』 dropdown choose 『Salesforce 』.
To enable the connection we need to authorize with Salesforce and generate access keys for your website.
1. Click 『Authorize with Salesforce』:
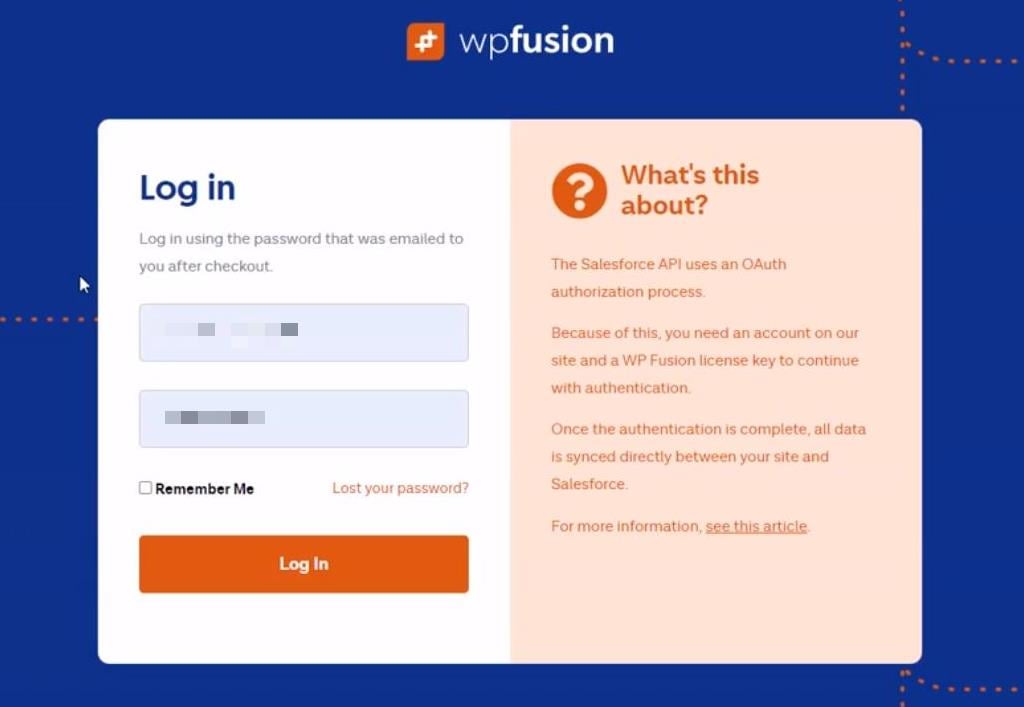
2. Login to your WP Fusion account:
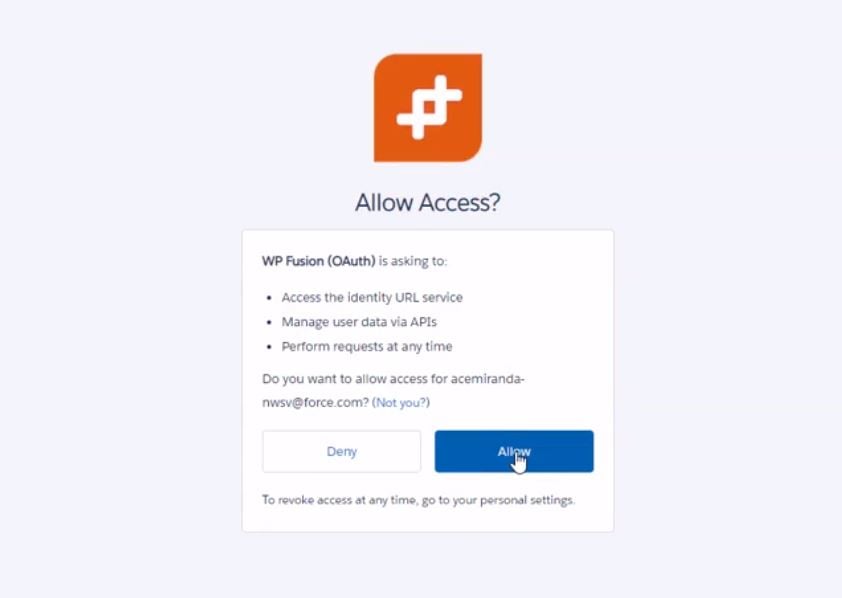
3. Allow WP Fusion (OAuth):
WP Fusion will now establish a direct connection to your Salesforce account and import your tags and custom fields.
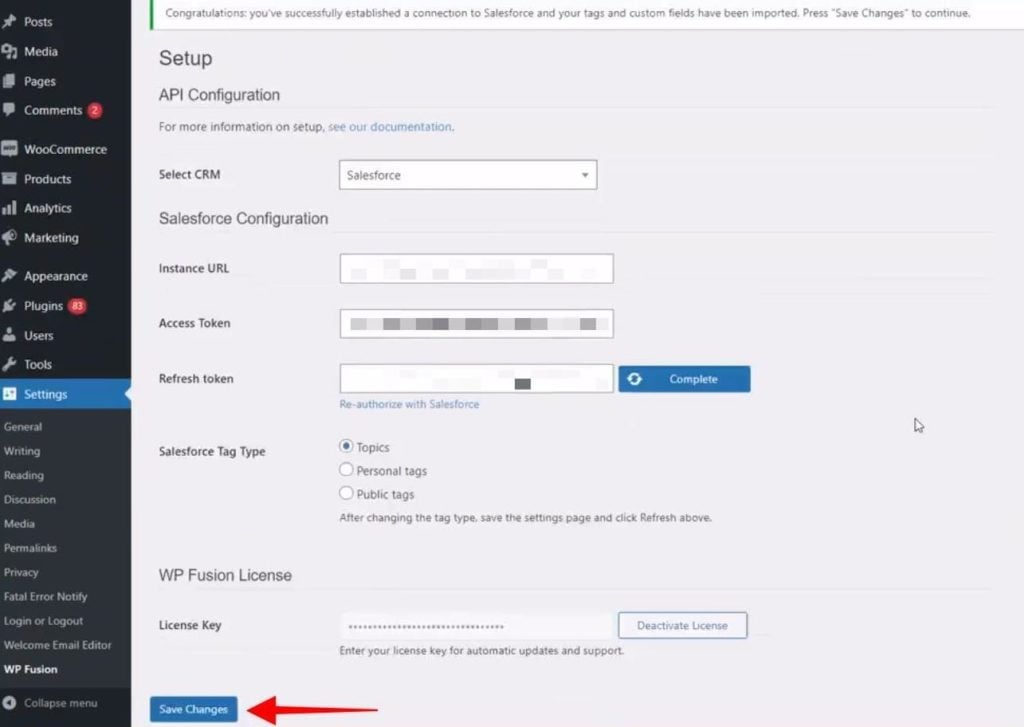
To finalize the process click on 『Save Changes』.
4. Important: Complete the app installation in Salesforce.
WP Fusion is now connected to Salesforce, but the access will expire when your refresh token expires.
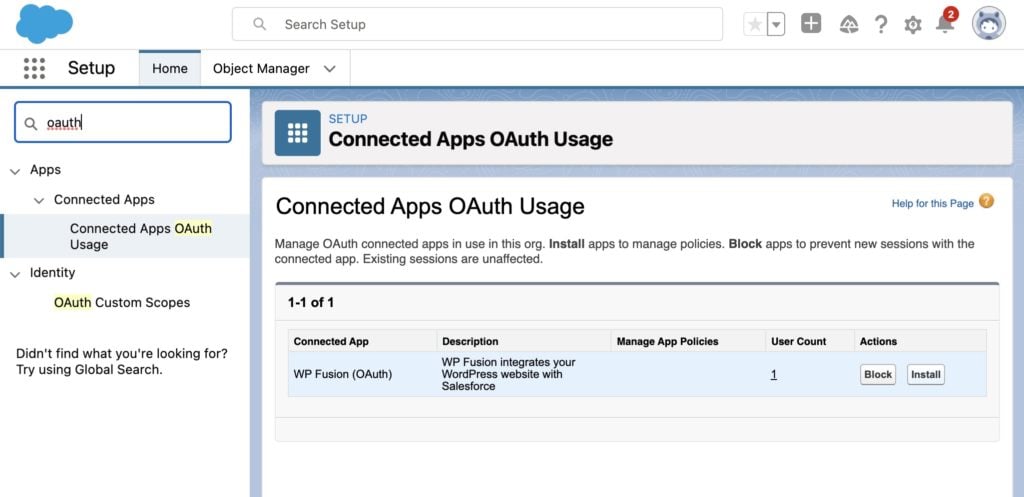
To prevent the refresh token from expiring, go to Salesforce and navigate to Setup » Connected Apps OAuth Usage and click Install next to WP Fusion.
#Refresh Token Policy
By default WP Fusion is installed with an indefinite refresh token.
However, we have seen some Salesforce apps with different security policies that cause the WP Fusion app to get installed with a temporary refresh token.
That means that when the refresh token expires, you』ll need to click the Reauthorize With Salesforce link again.
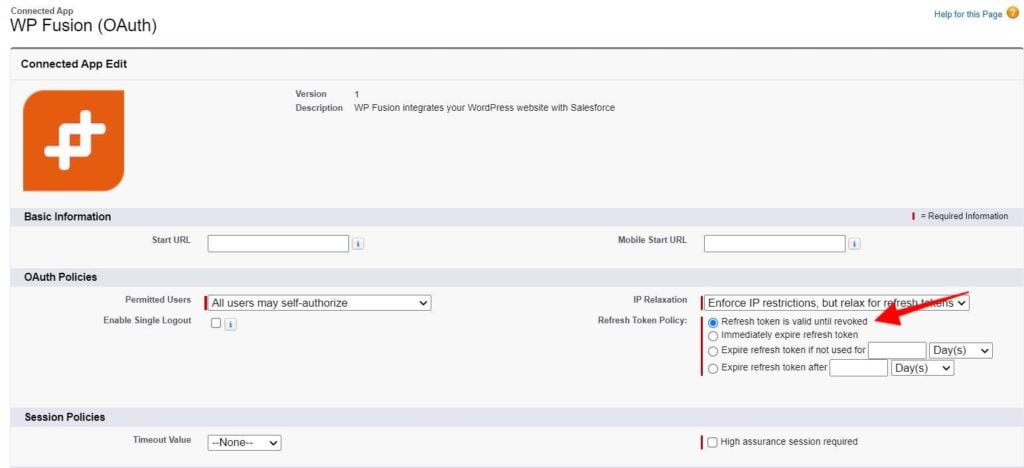
To fix this, head to Settings » Connected Apps » WP Fusion and make sure the Refresh Token Policy is set to Refresh token is valid until revoked.
#Was this helpful?
Let us know if you liked the post. That』s the only way we can improve.
Yes
No
